Easy Homemade Apple Chips + 3 Flavours To Try
Who doesn’t love the satisfying crunch of a perfectly crisp snack? If you’re looking for an easy, healthy snack to make at home, try your hand at making apple chips in a dehydrator. These easy homemade apple chips are healthy, delicious and perfect for on-the-go moments!
All you need to make these DIY apple chips are some fresh apples and a dehydrator. Apple chips are also the perfect snack to make when you have apples that have started to go squishy! Instead of throwing them out, make this delicious fiber snack!
Choosing the Right Apples
Before we dive into the nitty-gritty of making apple chips, let’s talk about the star of the show – the apples.
You can use any variety of apples for these easy homemade apple chips. I have tried over ten varieties of apples, and they all turned out delicious!
However, some varieties work better than others. For example, crisp and firm varieties like Honeycrisp, Granny Smith, or Fuji tend to produce crunchier chips. These apple varieties also hold their shape well during the dehydration process and offer a perfect balance of sweetness and tartness.
My personal favourites for a perfect flavour are honey crisp and red delicious!
I have also made apple chips with Ambrosia apples, which tend to be soft and on the blander side and they still turned out great! I just adjusted my dehydration time for longer and they turned out just as crunchy and yummy.
Also, making homemade apple chips is a fantastic way to use up apples that may be getting soft if you’ve left them in the fridge for a while. Instead of throwing them out for not being super fresh, just repurpose them into this easy snack!
Why You’ll Love These Homemade Apple Chips
- Easy – You’ll only need about five minutes to make these apple chips! Just slice them up and let the dehydrator do the work. No mess, no fuss!
- Healthy – These apple chips are the perfect healthy snack for kids’ lunches, road trips or busy no-cook days. Apple chips are a great source of fiber, vitamins and minerals. They’re also a great source of pectin, a soluble fiber that not only feeds healthy bacteria in the digestive tract but also helps lower LDL cholesterol levels in the blood!
- Inexpensive – store-bought snacks can be so expensive! These DIY apple chips are budget-friendly with apples as the only ingredient.
- Reduce Waste – Instead of throwing out apples that you may have forgotten about, repurpose your squishy apples into a yummy snack!
What You’ll Need
Dehydrator
Investing in a dehydrator is key to achieving consistent, evenly-dried apple chips. If you want to get fancy, look for a model with temperature control to ensure optimal results, but any will do! My dehydrator is an older model without temperature control settings and it works just as well.
Mandoline or Sharp Knife
To achieve uniform slices, a mandoline or a sharp knife is essential. Aim for slices around 1/8 inch thick for the perfect balance of crispiness. You can adjust your slices topreference, but a slightly thicker slice gives crisperr results!
Lemon Juice (optional)
Apples have a tendency to brown when exposed to air. A squeeze of fresh lemon juice not only adds a zesty flavour but also helps prevent browning. I don’t add lemon juice to my apple chips because a golden brown colour doesn’t bother me, but you can add some for lighter chips!
How To Make Homemade Apple Chips
Grab your supplies, and let’s get makin’ these 5-minute easy homemade apple chips!
Step 1: Prepare Your Apples
Start by washing your apples thoroughly. If you prefer to leave the skin on for added fiber and texture, make sure to give them a good scrub. Otherwise, peel the apples for a smoother, more chip-like finish.
I recommend leaving the skin on as it creates a crispier chip and provides additional dietary fibre to the snack, but both variations work well.
Step 2: Core and Slice
Use a corer or a knife to remove the cores from the apples. Once cored, slice the apples into thin, even rounds or crescents. A mandoline set to the desired thickness or a sharp knife can help achieve uniform slices. The goal is to have slices that are about 1/8 inch thick.
Nothing I do in my kitchen is uniform, and I just free-slice my apple chips. This gives them a more rustic look and gives you a variety between thicker and thinner chips. So, if you’re like me, don’t worry about perfectionism and slice ’em up any which way sis. They’ll still taste amazing 🙂
Step 3: Prevent Browning (optional)
To prevent the sliced apples from browning, toss them in a bowl with a tablespoon of fresh lemon juice. The acidity of the lemon juice not only adds a zing but also slows down the oxidation process.
This step is optional! I personally leave my apples as-is. I don’t mind a little browning.
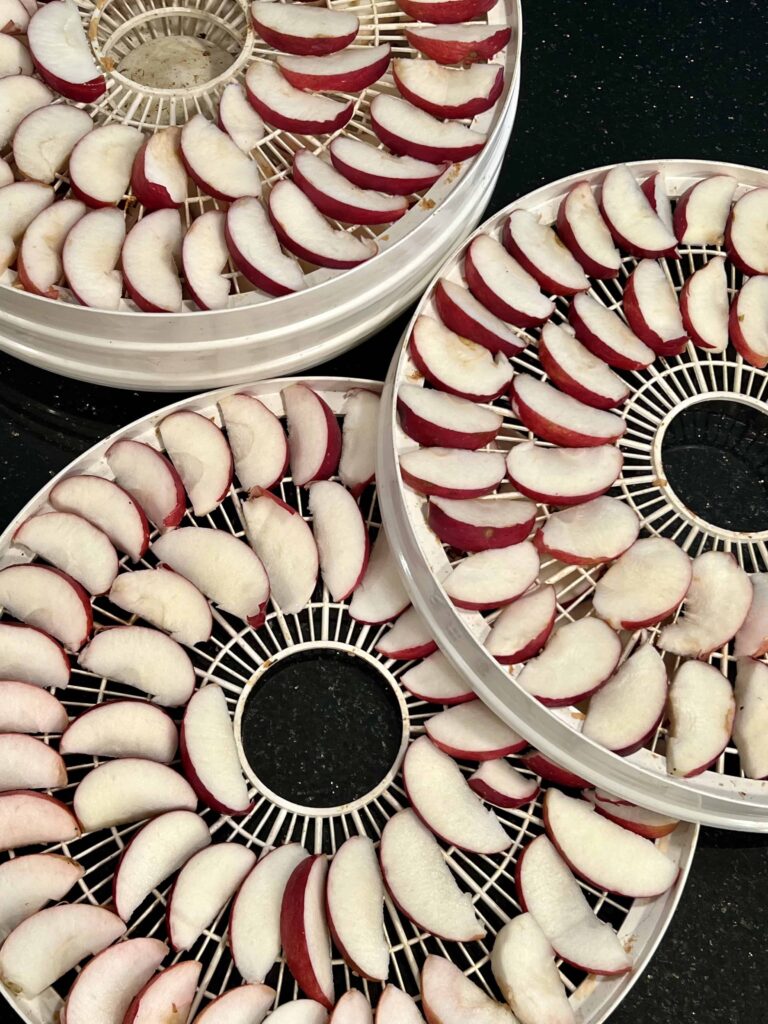
Step 4: Arrange on Dehydrator Trays
Arrange the apple slices on the trays of your dehydrator, making sure they are not touching. This allows air to circulate freely, ensuring uniform drying.
It really doesn’t matter how you organize them. Just make sure they all fit!
Step 5: Dehydrate
Place the trays in the preheated dehydrator and let the magic happen.
Depending on your dehydrator model and the thickness of your slices, it typically takes 6 to 12 hours for the apple chips to reach the desired crispiness. To achieve consistency, rotate the trays periodically.
If you have a newer dehydrator with temperature control settings, preheat your dehydrator to 135°F (57°C). The low and slow dehydration process preserves the natural sugars in the apples while giving them that satisfying crunch.
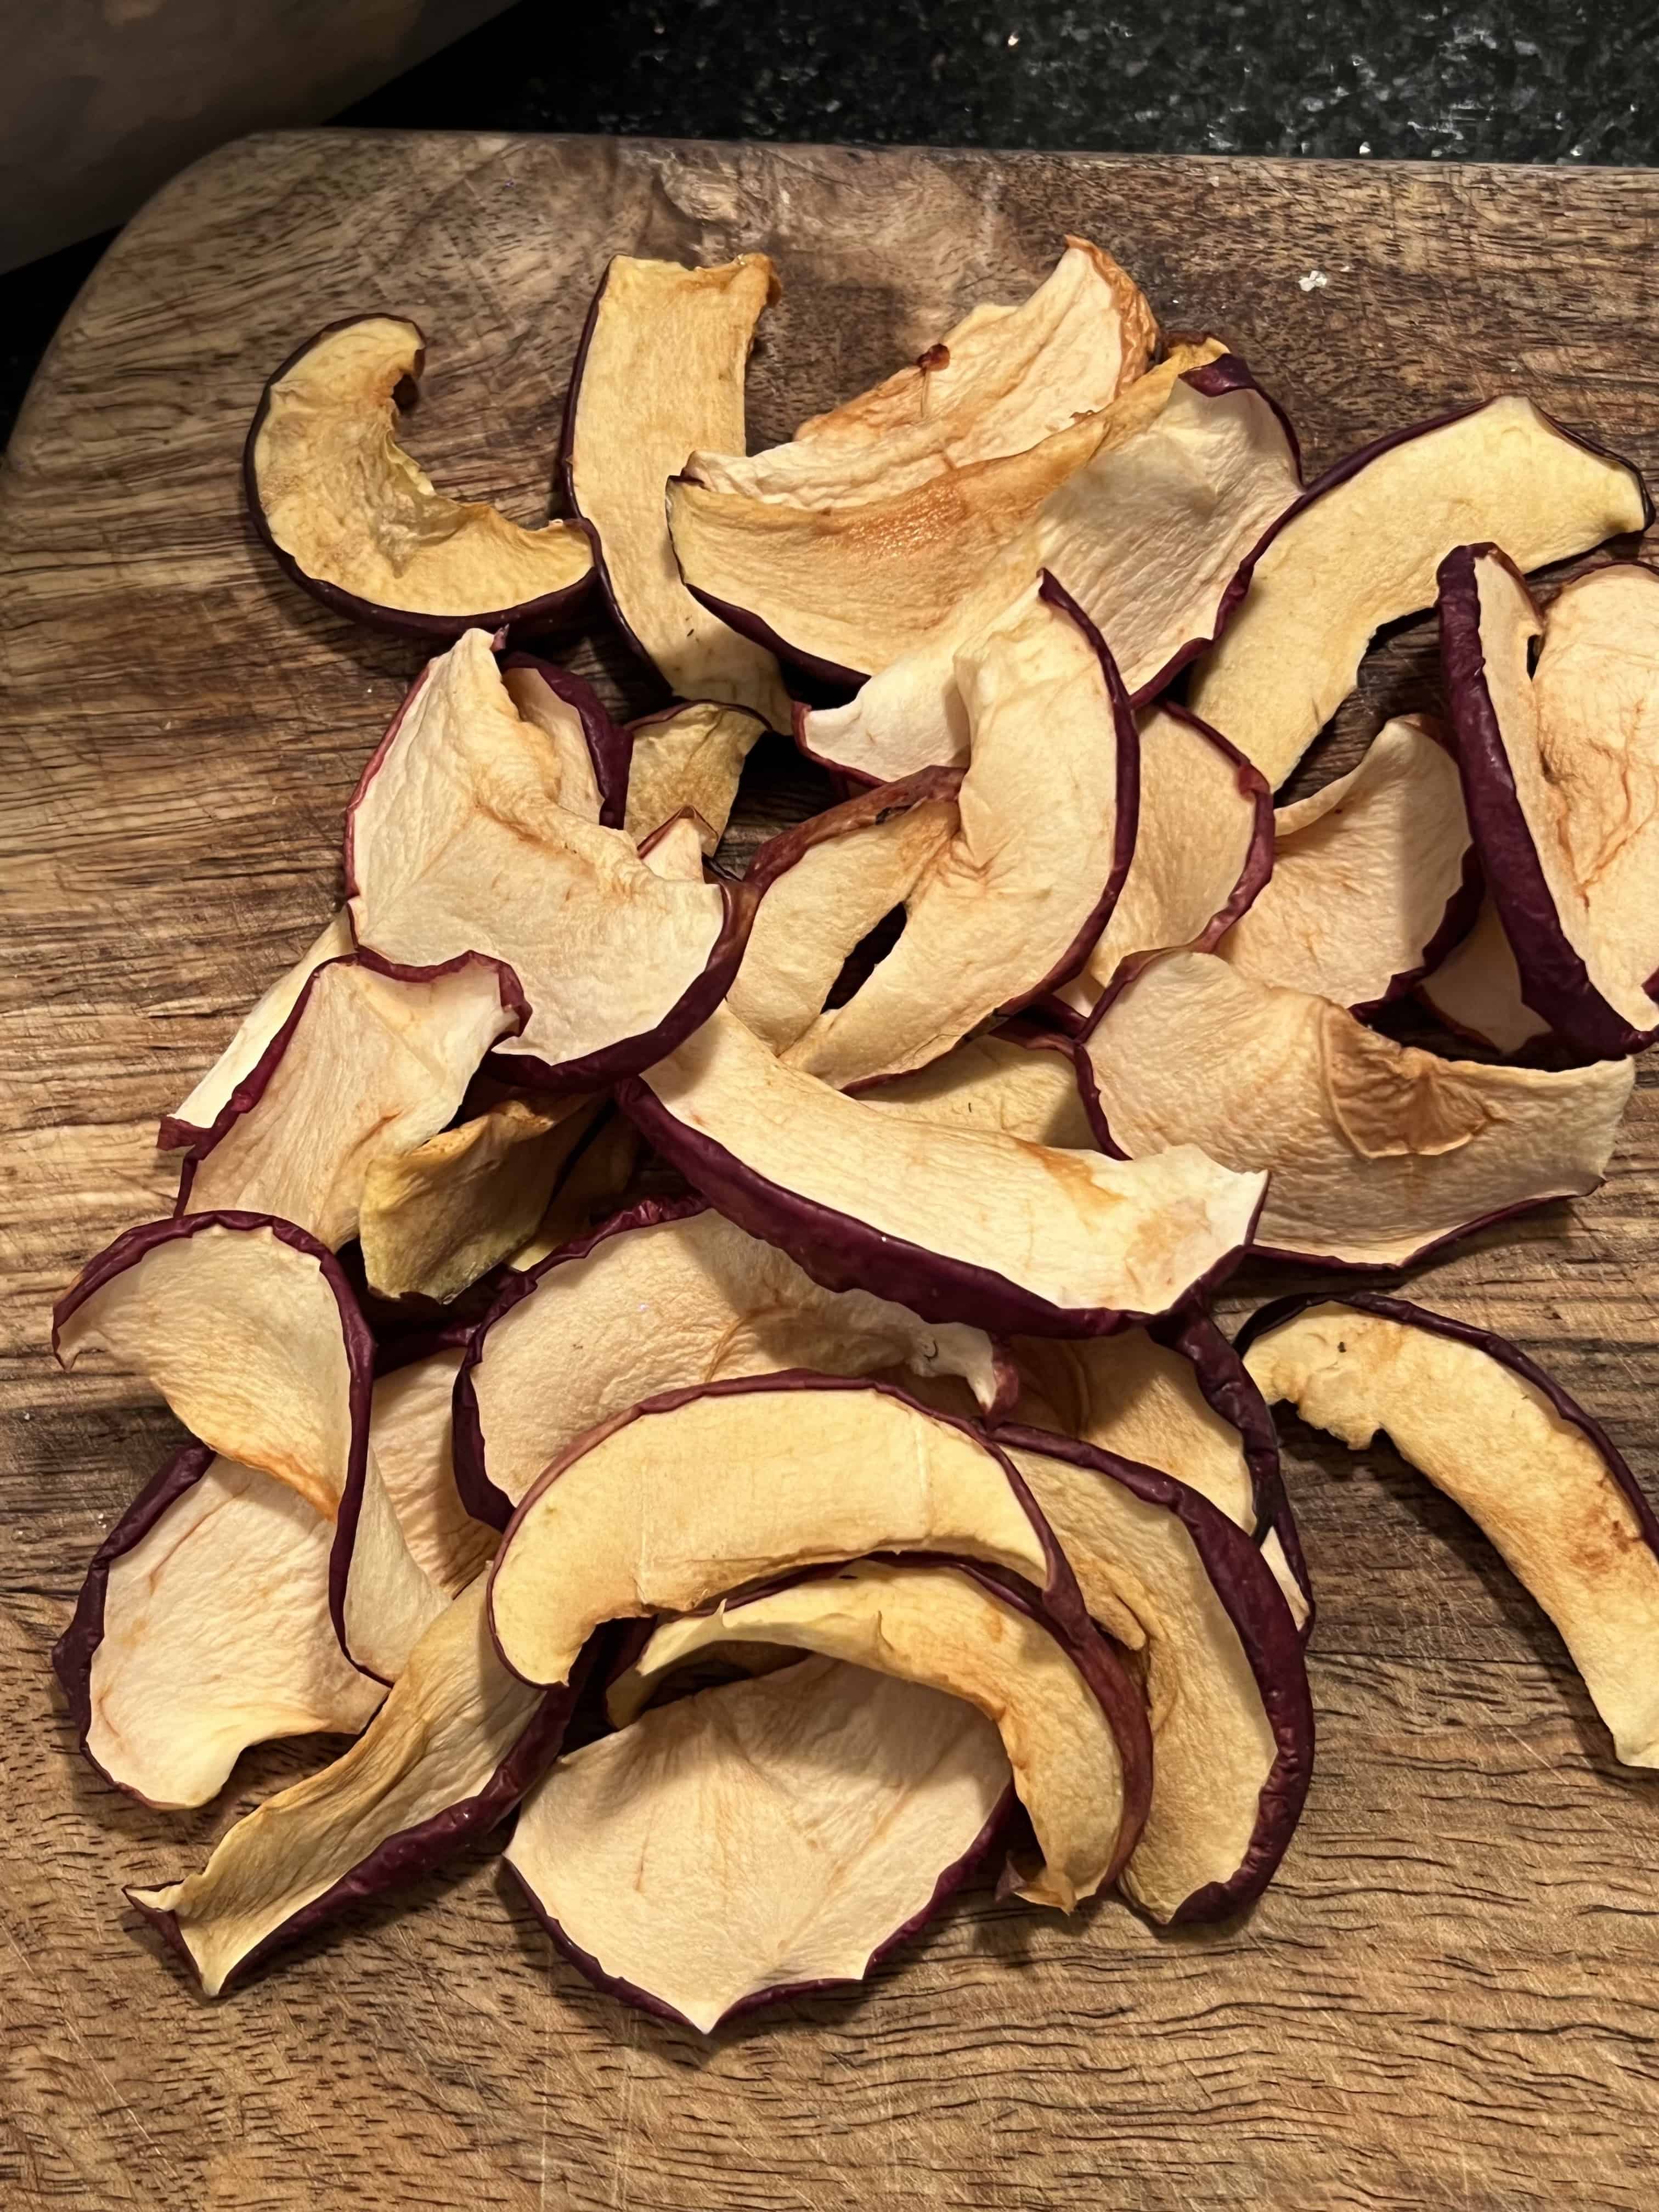
Step 6: Check for Doneness
Around the 6-hour mark, start checking for doneness. Your apple chips are ready when they are dry to the touch and have a crisp, chip-like texture.
Keep in mind that they will likely be bendy from the heat, but as they cool, they continue to firm up and get crunchy.
Depending on your apple variety, the time it takes to get crunchy makes a difference; just peek in around the six-hour mark and see where your chips are at.
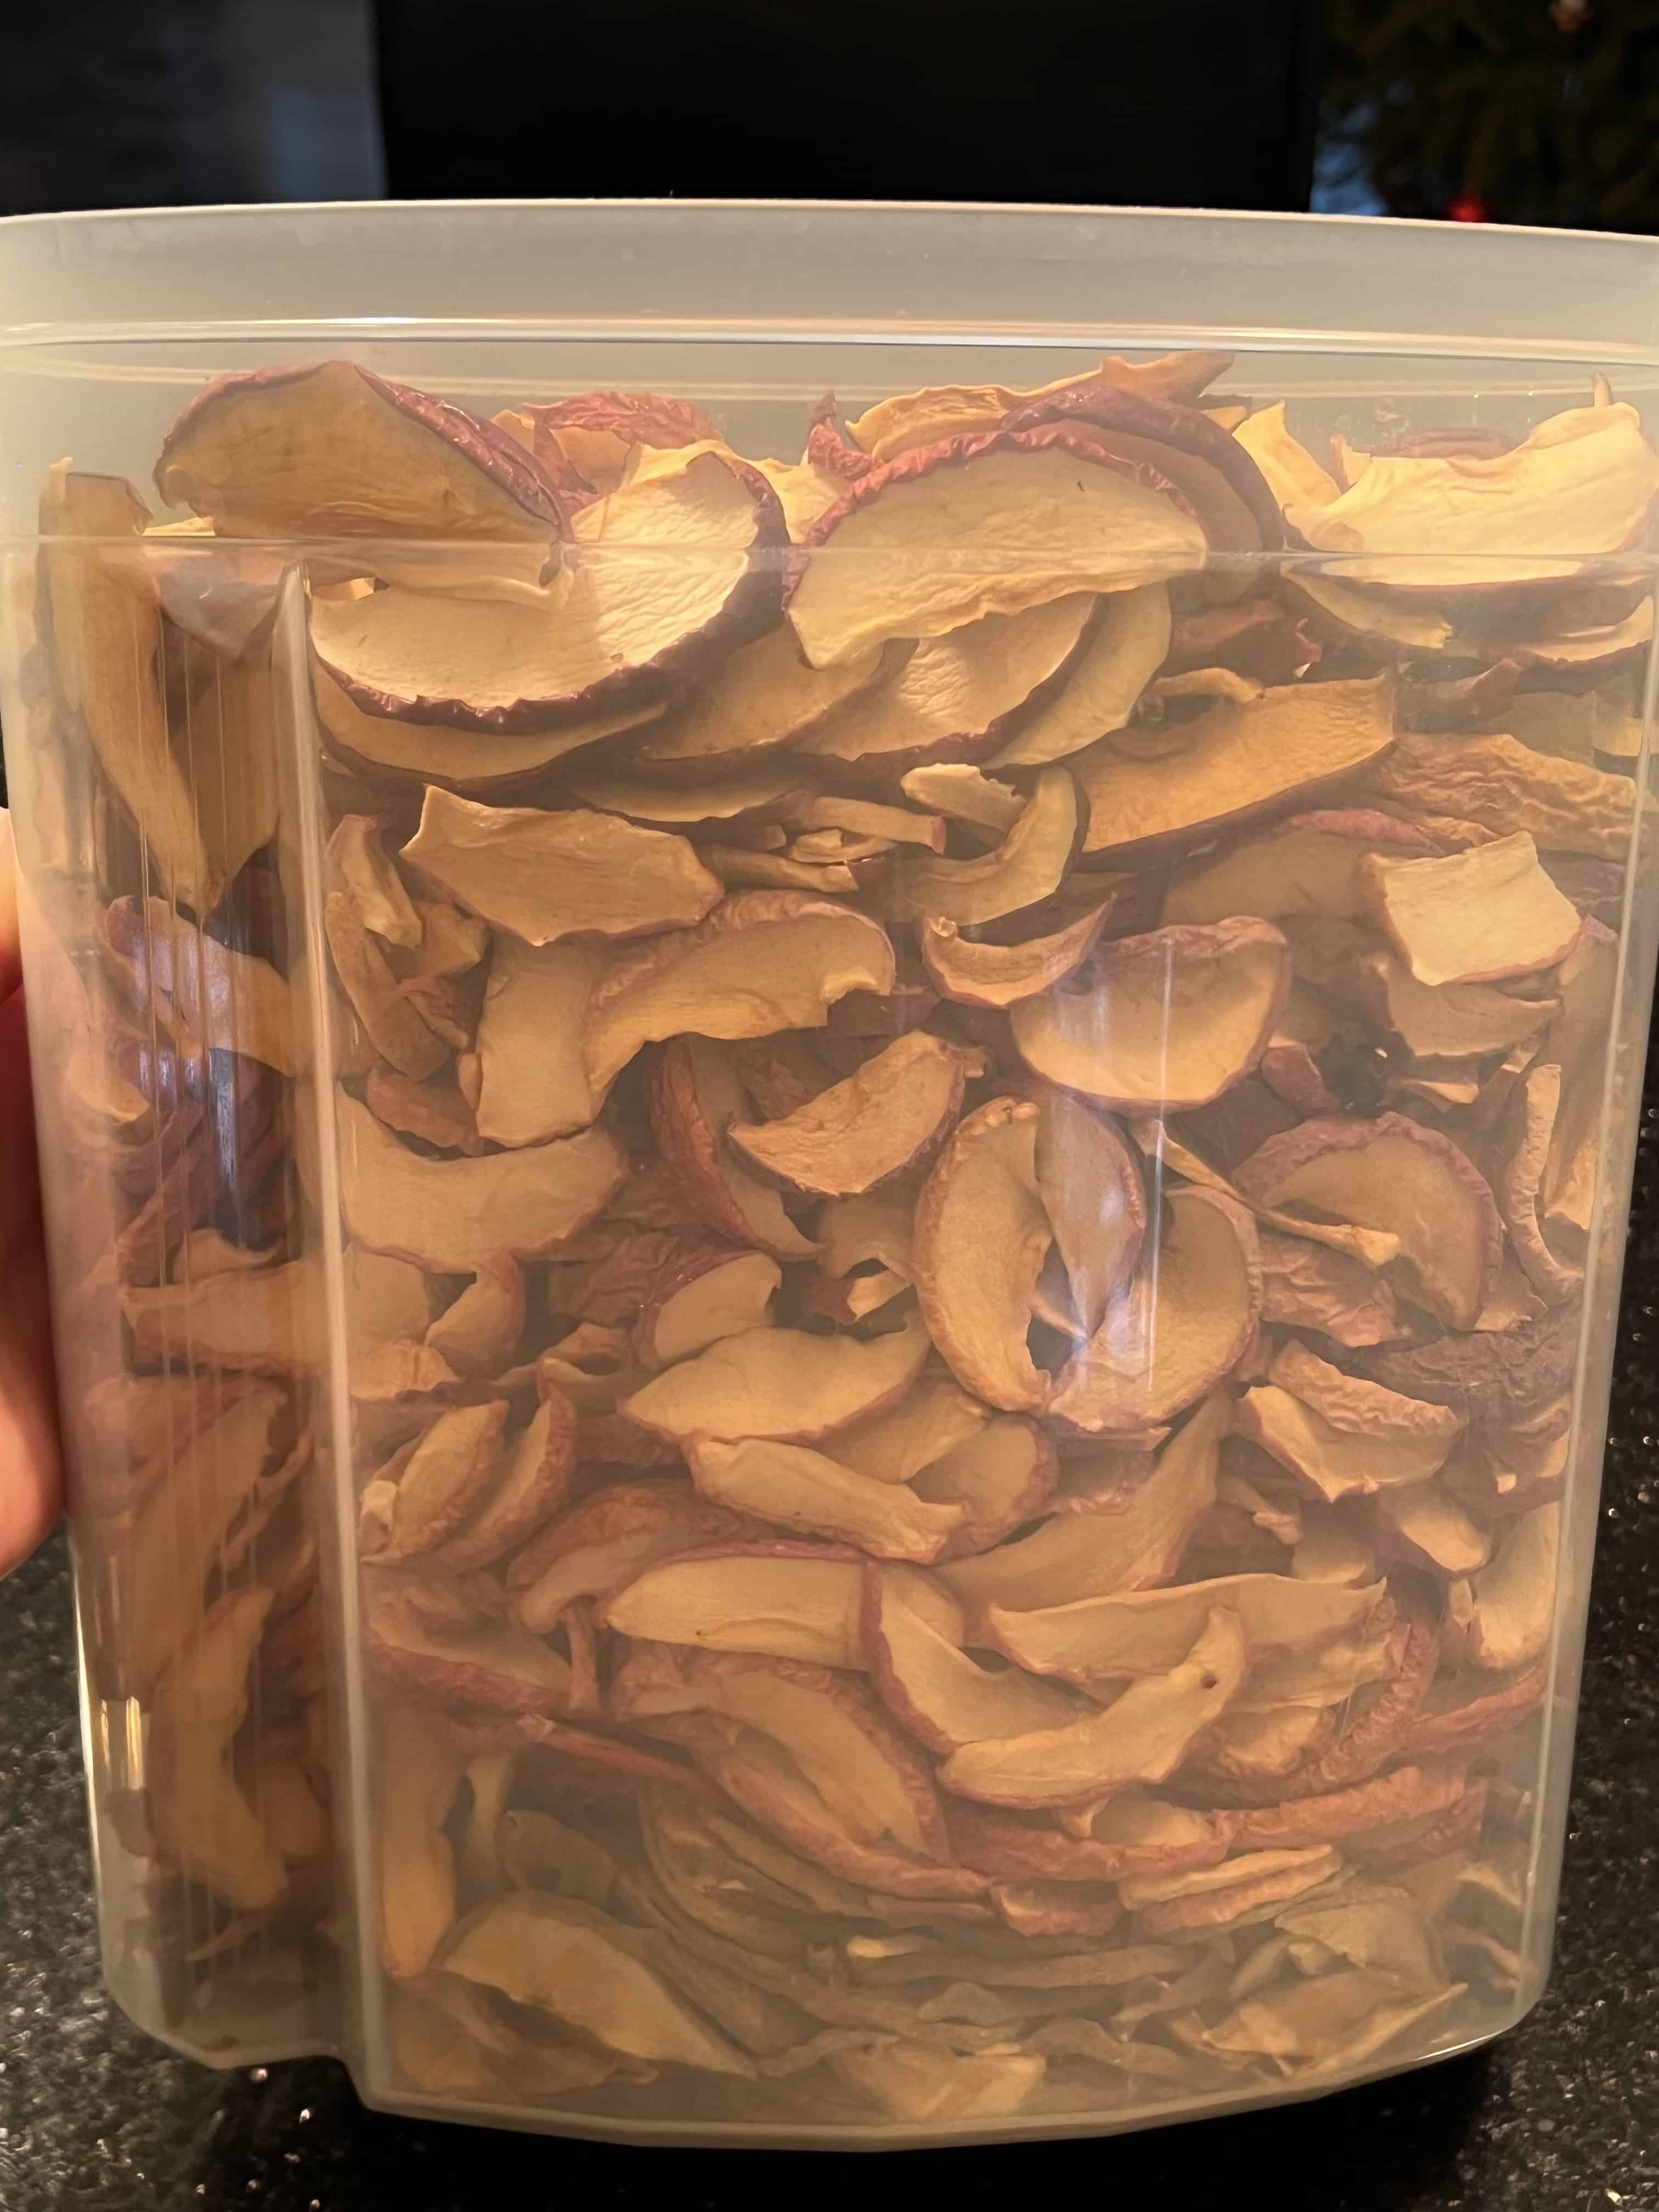
Step 7: Cool and Store
Once you’re satisfied with the dehydration, allow the apple chips to cool completely before indulging in your crunchy snack!
Once cooled, store them in an airtight container to maintain their crispiness. If you manage to resist devouring them all at once, these apple chips can last for weeks to months even.
These apple chips don’t need to be stored in the refrigerator and will keep in a dry, airtight container at room temperature.
Tips for Success
- Uniform Slices – Aim for uniform slices to ensure even dehydration. This is where a mandoline or a sharp knife comes in handy.
- Rotate Trays – To achieve consistent results, rotate the trays in your dehydrator periodically.
- Experiment with Flavours – Don’t be afraid to get creative with flavours. Try sprinkling your apple chips with cinnamon, nutmeg, or even a touch of chili powder for a unique twist.
- Storage – Store your apple chips in an airtight container to maintain their crispiness. If they start to lose their crunch, you can re-crisp them in the dehydrator for a short period.
3 Flavours To Try
Now that you’ve mastered making classic apple chips try out these three fun flavour variations!
Cinnamon
There’s something magical about the combination of apples and cinnamon. To infuse your apple chips with a warm and comforting flavor, follow these easy steps:
- Before dehydrating, sprinkle a generous amount of ground cinnamon over the apple slices
- Gently toss the slices to ensure an even distribution of the cinnamon
- Dehydrate as usual, following the steps above
The result? A batch of apple chips that not only provides a satisfying crunch but also delivers the cozy, warming taste of cinnamon. It’s like apple pie in chip form – irresistible and perfect for fall!
Nutmeg
For those who appreciate a hint of nuttiness and earthiness, nutmeg is the perfect addition to your apple chips. Here’s how to infuse that delightful nutmeg flavor:
- Grate fresh nutmeg (or use ground) over the apple slices before placing them in the dehydrator
- Ensure an even coating by gently tossing the slices
- Dehydrate as usual
Sweet Chili
If you’re feeling a bit adventurous and want to add a spicy kick to your apple chips, consider adding chili powder:
- Lightly dust the apple slices with a pinch of chili powder before dehydrating
- For those who enjoy extra heat, feel free to add a touch more chili powder
- Dehydrate following the standard procedure
A surprising and tantalizing combination of sweetness from the apples and a subtle heat from the chili powder. These apple chips are the perfect fusion of flavours, if you love a little spice!
Frequently Asked Questions
Are apple chips healthy?
Absolutely! Apple chips are a much healthier alternative to traditional potato chips and other processed snacks. Apples are naturally low in calories, high in fiber, and packed with essential vitamins and antioxidants.
When you make apple chips at home, you have control over the ingredients, allowing you to skip additives like excessive sugar or artificial preservatives. Plus, the dehydration process retains the nutritional value of apples, making these chips a wholesome and satisfying snack. Just remember to enjoy them in moderation as part of a balanced diet.
Why aren’t my apple chips crispy?
If you’re finding that your apple chips aren’t quite crispy, here are a couple of things you can troubleshoot:
- Slice Thickness: How thick did you slice your apples? If the apple slices are too thick, they may not dehydrate properly. Aim for slices around 1/8 inch thick for best crispiness results.
- Uneven Slices: Inconsistent thickness across the slices can result in uneven dehydration. Use a mandoline or a sharp knife to ensure uniformity.
- Overlapping on Trays: If the apple slices are touching or overlapping on the dehydrator trays, air circulation is decreased, which can lead to uneven drying. When you arrange the slices, make sure to leave some space between each slice to allow proper airflow.
- Insufficient Dehydration Time: Depending on the apple variety you use, you might need to extend your drying time! Continue to check your slices every so often until you see them getting chip-like.
What are the best apples for dehydrating?
You can use any apple variety to make apple chips! However, some varieties work better than others.
For example, crisp and firm varieties like Honeycrisp, Granny Smith, or Fuji tend to produce crunchier chips. They also hold their shape well during the dehydration process and offer a perfect balance of sweetness and tartness.
- Honeycrisp: Known for their sweet and crisp texture, Honeycrisp apples dehydrate really well, retaining their delicious flavour.
- Granny Smith: With their tartness, Granny Smith apples add a refreshing zing to your chips. Their firm flesh holds up during dehydration.
- Fuji: Fuji apples are sweet with a pleasant crunch, making them one of the most popular choices!
- Gala: Gala apples are naturally sweet, adding a delicious flavour to your chips. They are also known for their thin skin.
- Red Delicious: These apples offer a perfect blend of sweetness and tartness, resulting in flavorful and crisp apple chips. Personally, these are my favourites!
Let me know how you flavour your apple chips! Any new fun flavours we should try?