Homemade Elderberry Syrup Recipe (Best Cough & Cold Remedy!)
Want to make your own natural cough and cold remedy? This homemade elderberry syrup recipe is super easy to make, all-natural, delicious and effective for stubborn coughs, colds and flu!
Elderberry syrup is a time-tested folk remedy that has started to gain popularity in modern society for its immune-boosting properties.
These tiny, dark purple berries are loaded with antioxidants and vitamins that support the immune system. Elderberries contain compounds that have been studied for their potential antiviral and anti-inflammatory effects, making them a healthy, natural option for tackling colds and coughs.
Why Make Your Own DIY Elderberry Syrup?
Making your own elderberry syrup not only allows you to control the quality of the ingredients but also lets you tailor the recipe to suit your taste preferences.
Store-bought syrups often contain added sugars and preservatives that may diminish the natural benefits of elderberries. By making your own homemade version, you ensure a pure and potent syrup for you and your family.
Ready to make your own syrup? Let’s dive in!
Elderberry Syrup Benefits
Elderberries (Sambucus nigra) have been used in traditional medicine for centuries, with new studies emerging outlining the many health benefits and positive effects on health, including:
- Immune-system boosting – studies have found that elderberry juice stimulates the local and systemic immune response (source).
- Anti-viral properties – the high concentration of polyphenolic compounds in elderberry prevent viral penetration into cells, inhibiting infection (source).
- Anti-bacterial properties – elderberry extract has been found to inhibit bacterial growth by 70-90% in common bacteria that cause upper respiratory infections (source).
- Protection against UV radiation – polyphenols in elderberry extract possess properties that help protect against solar radiation (source).
- Potent antioxidant – elderberries are a rich source of polyphenols, which act as a protective agent against oxidative stress in the body (source).
- Cardiovascular system support – studies show positive and protective effects of elderberries on blood pressure, lipid profile, and oxidative damage (source).
- Potent source of vitamins – elderberries contain vitamin B complex (B2, B7, B9), vitamin C, vitamin A and E.
Pretty amazing, right? All that from little berries!
Why You’ll Love This Homemade Elderberry Syrup Recipe
If you’re on the fence about making your own syrup, here are five reasons you’ll quickly fall in love with this homemade elderberry syrup recipe!
- No Artificial Additives – When you make elderberry syrup at home, you have control over the ingredients. No artificial sweeteners or preservatives – just the goodness of nature.
- Cost-Effective – Purchasing pre-made elderberry syrup can be pricey. Making it at home allows you to enjoy the benefits without breaking the bank. Plus, a 500g bag will make you several batches when using dried berries!
- Customizable Flavours – Feel free to tweak the recipe to suit your taste. Add a hint of citrus with some orange zest or experiment with different spices to create a personalized blend.
- Quality Ingredients – Ensure the quality of your elderberries by choosing organic options. This way, you know exactly what you’re putting into your homemade remedy.
- Super Easy To Make – All you need to make your own elderberry syrup are four ingredients. Just throw all of the ingredients into the pot, set it to simmer and that’s it. No mess, no fuss, no hours of prep work!
More Homemade Remedies You Might Like:
- Boost Your Immunity With This Quick And Easy Fire Cider Recipe
- Easy DIY Fermented Garlic Honey Recipe For Cold & Flu
- Easy Homemade Natural Cough Syrup With Honey And Lemon
How To Make Homemade Elderberry Syrup
Here’s what you’ll need to make this easy elderberry syrup recipe:
Ingredients
- 1 cup dried elderberries
- 6 cups water
- 1 inch piece fresh ginger, sliced
- 1 cinnamon stick (or tsp ground)
- 1/2 teaspoon cloves
- 1 cup raw honey
Now, let’s get into the nitty-gritty of crafting your very own elderberry syrup. Follow these simple steps, and you’ll have a potent homemade remedy in just over an hour!
Step 1: Gather Your Supplies
Before you start, make sure you have all the necessary ingredients and kitchen tools.
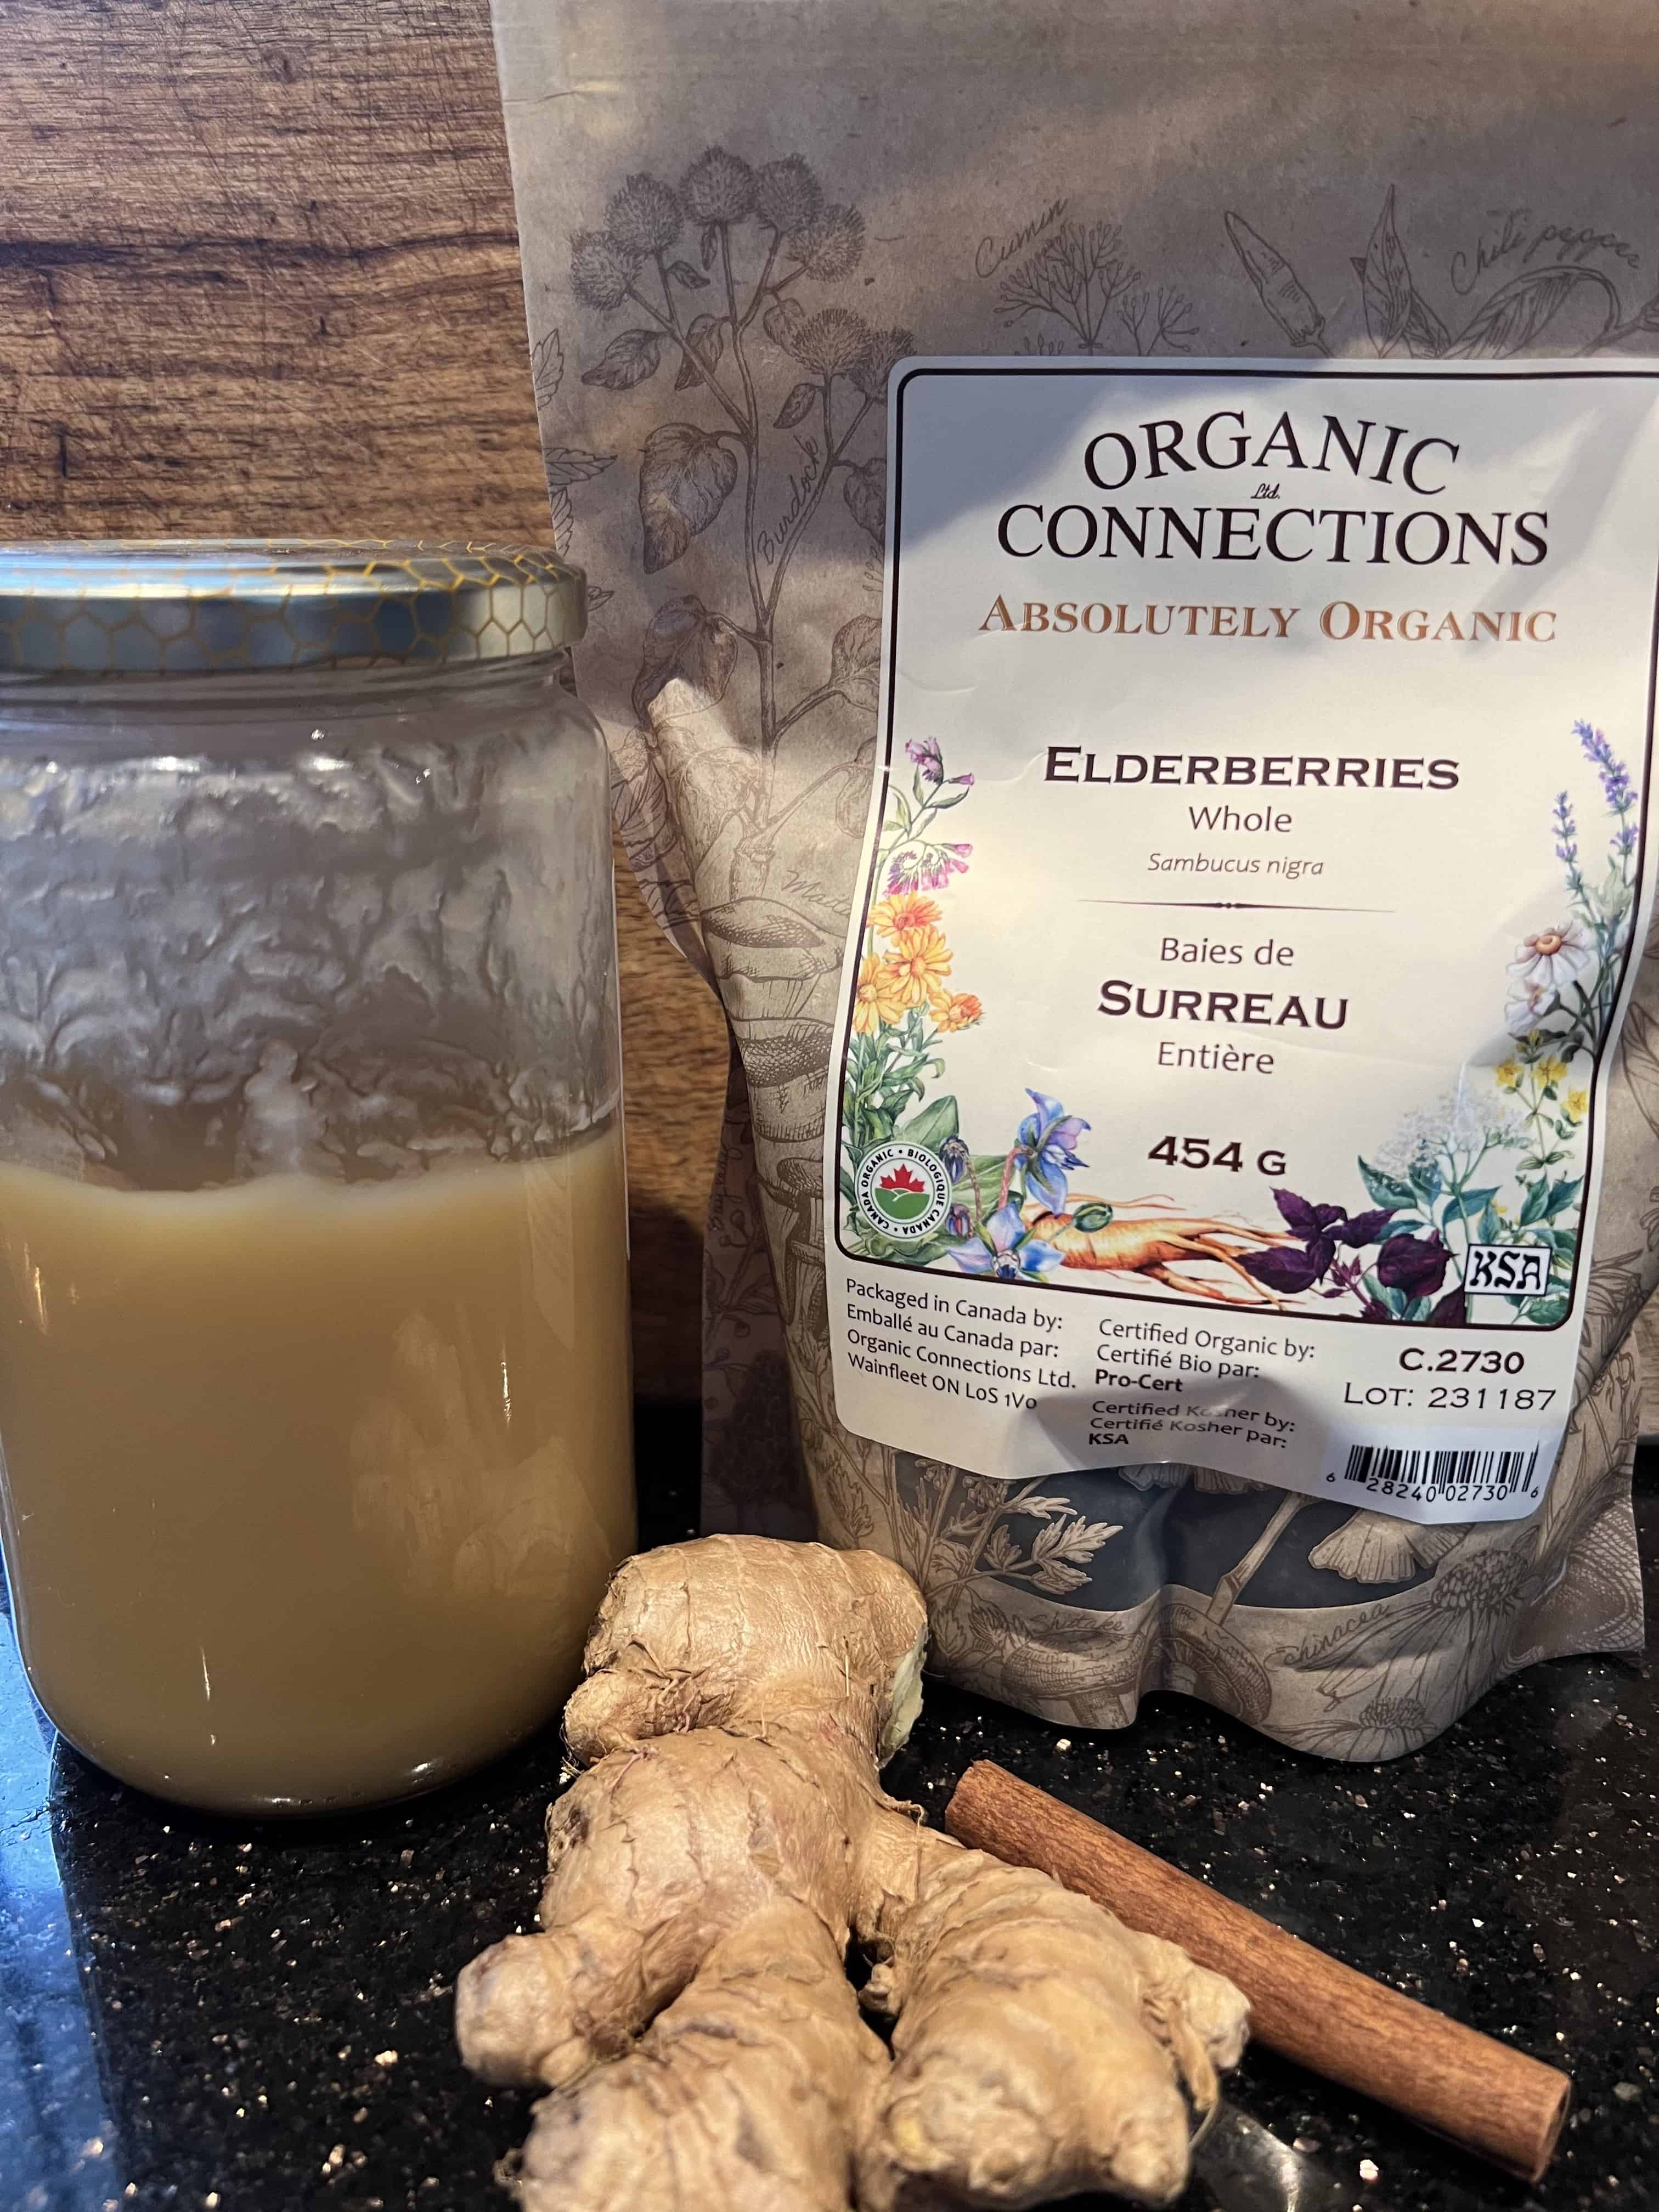
For this recipe, it’s best to use organic elderberries to ensure you’re getting the best quality. Many health food stores carry them or you can even find them from reputable retailers online.
Of course, if you have fresh elderberries growing on your property or in your neighbourhood that is an amazing option! My elderberry bushes aren’t mature enough yet to produce fruits, so for now I’m using dried.
Step 2: Add & Simmer
In a medium-sized pot, combine the dried elderberries, water, sliced ginger, cinnamon stick, and cloves.
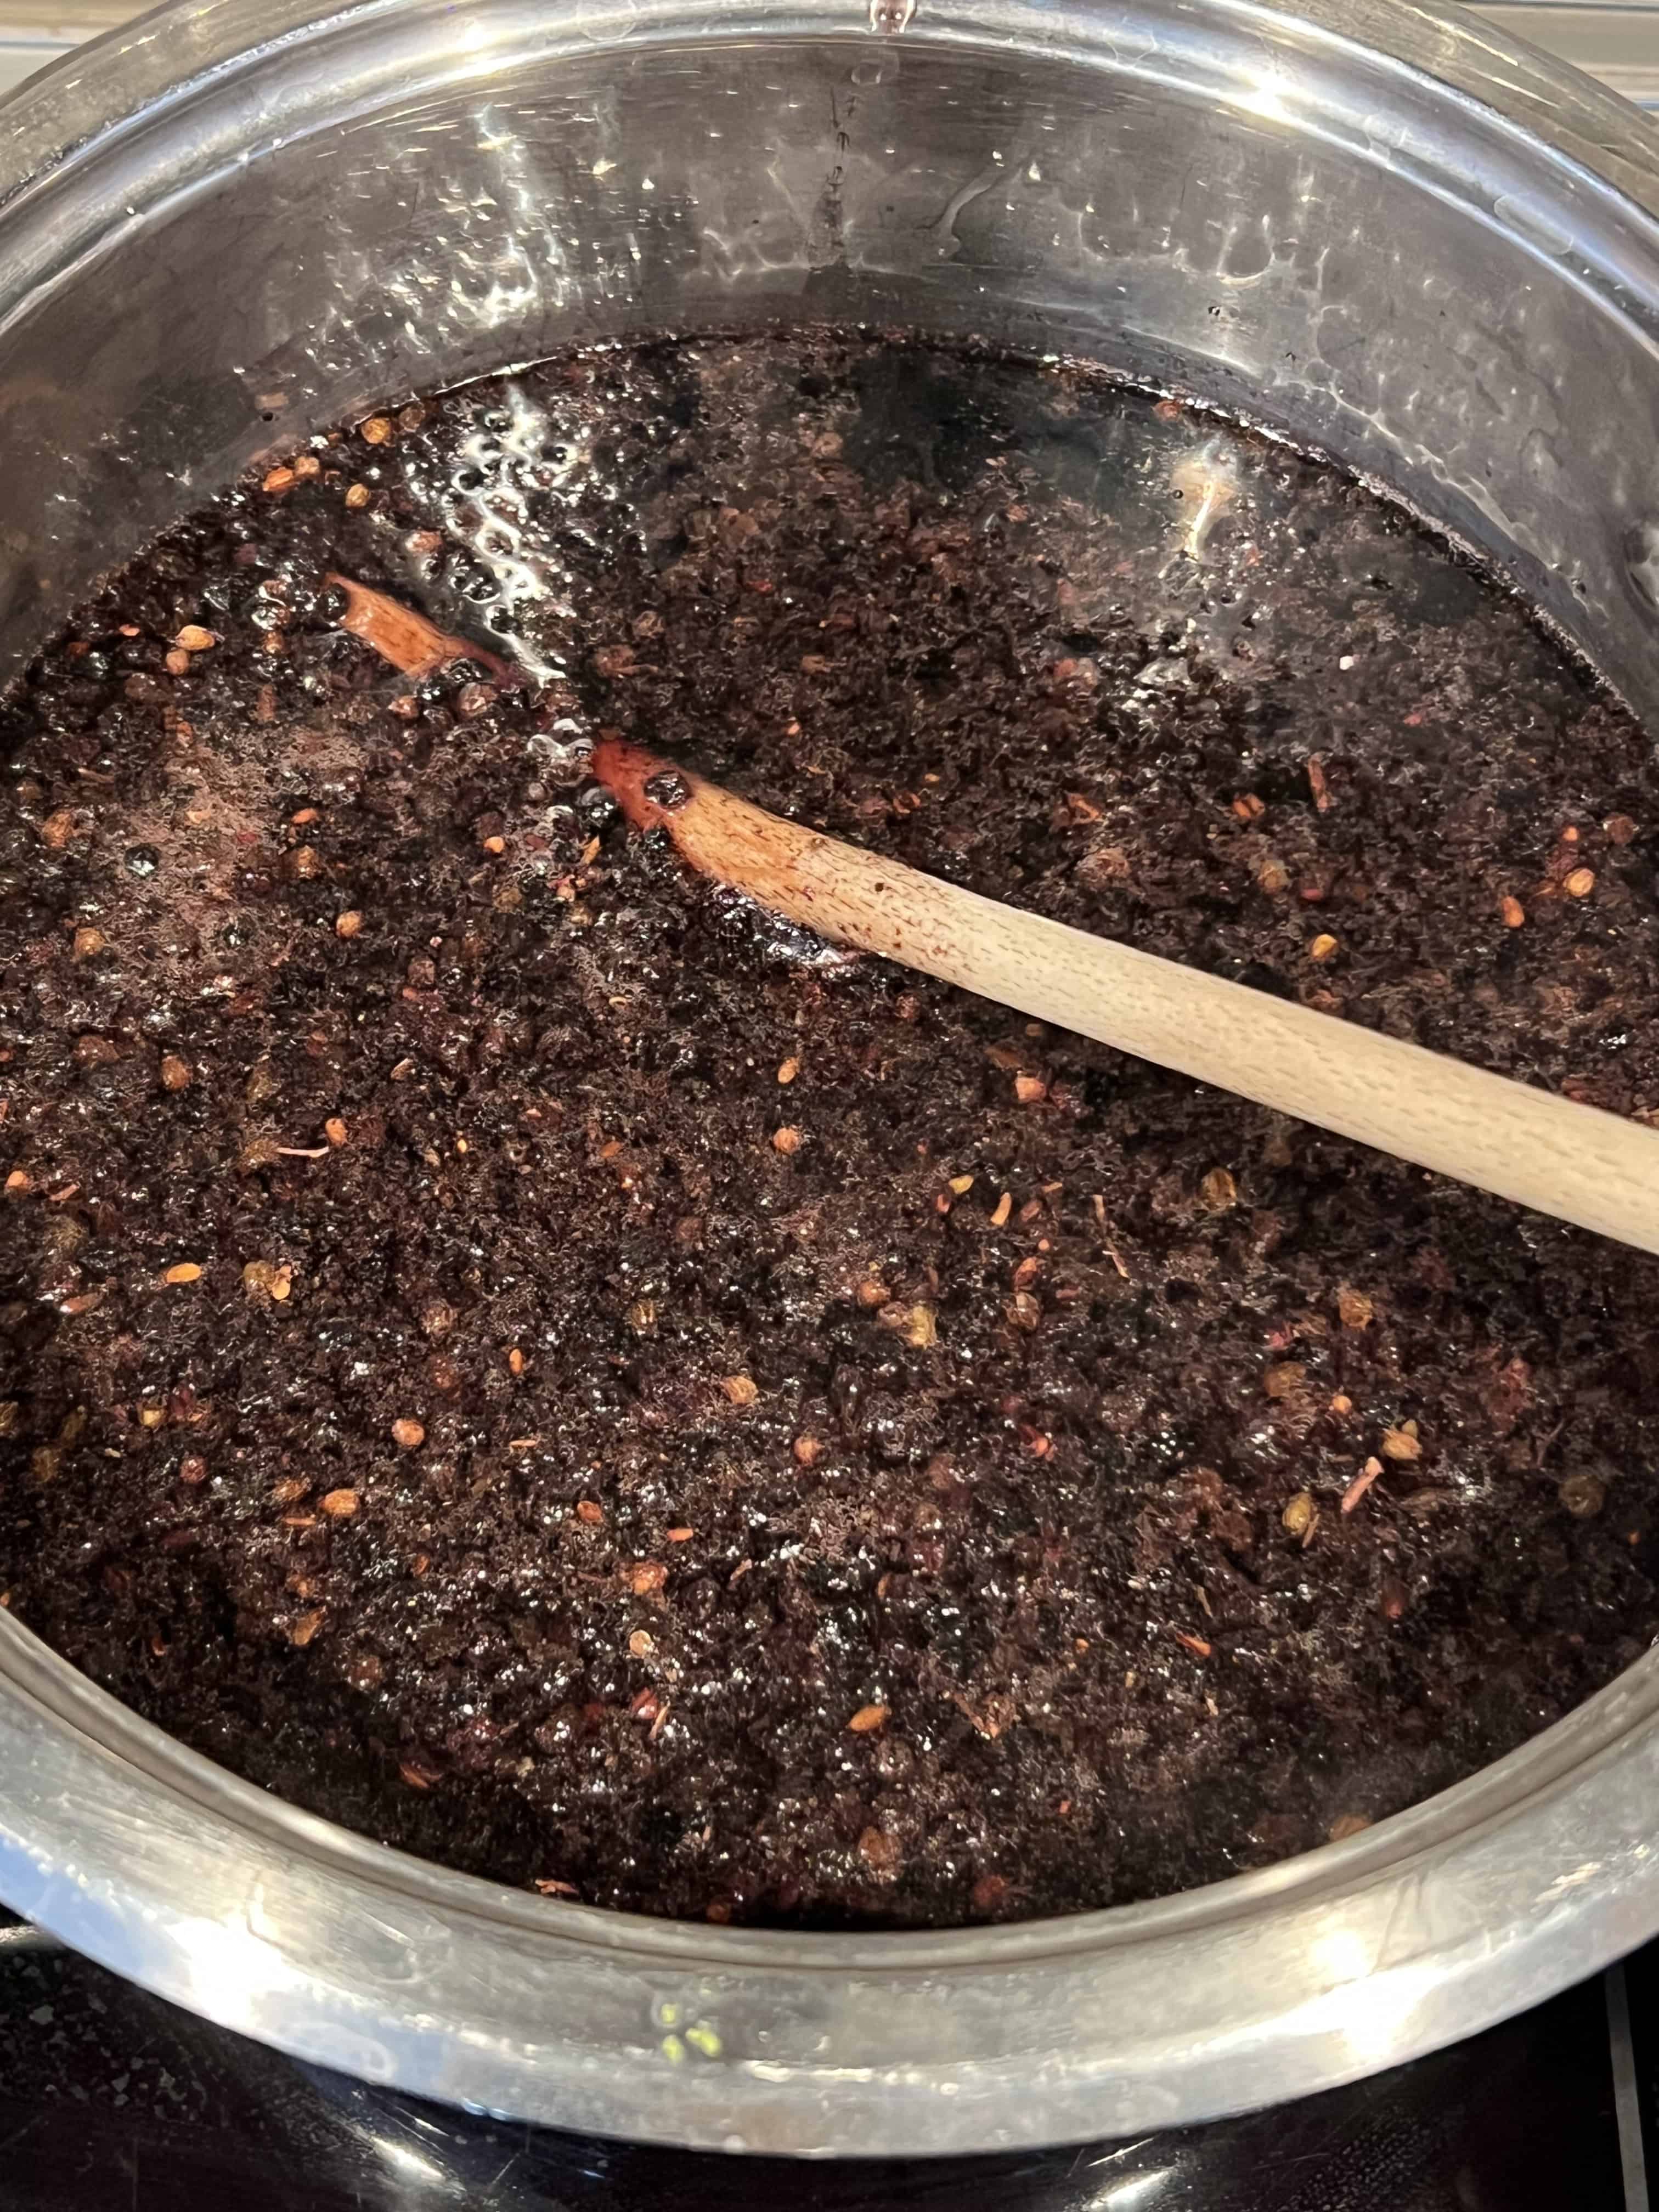
Bring the ingredients to a boil, then reduce the heat to a simmer. Let it simmer for 1-2 hours, or until the liquid has reduced by half.
Step 3: Strain and Squeeze
Once your elderberry mixture has simmered for at least an hour and reduced by half, it’s time to strain the liquid.
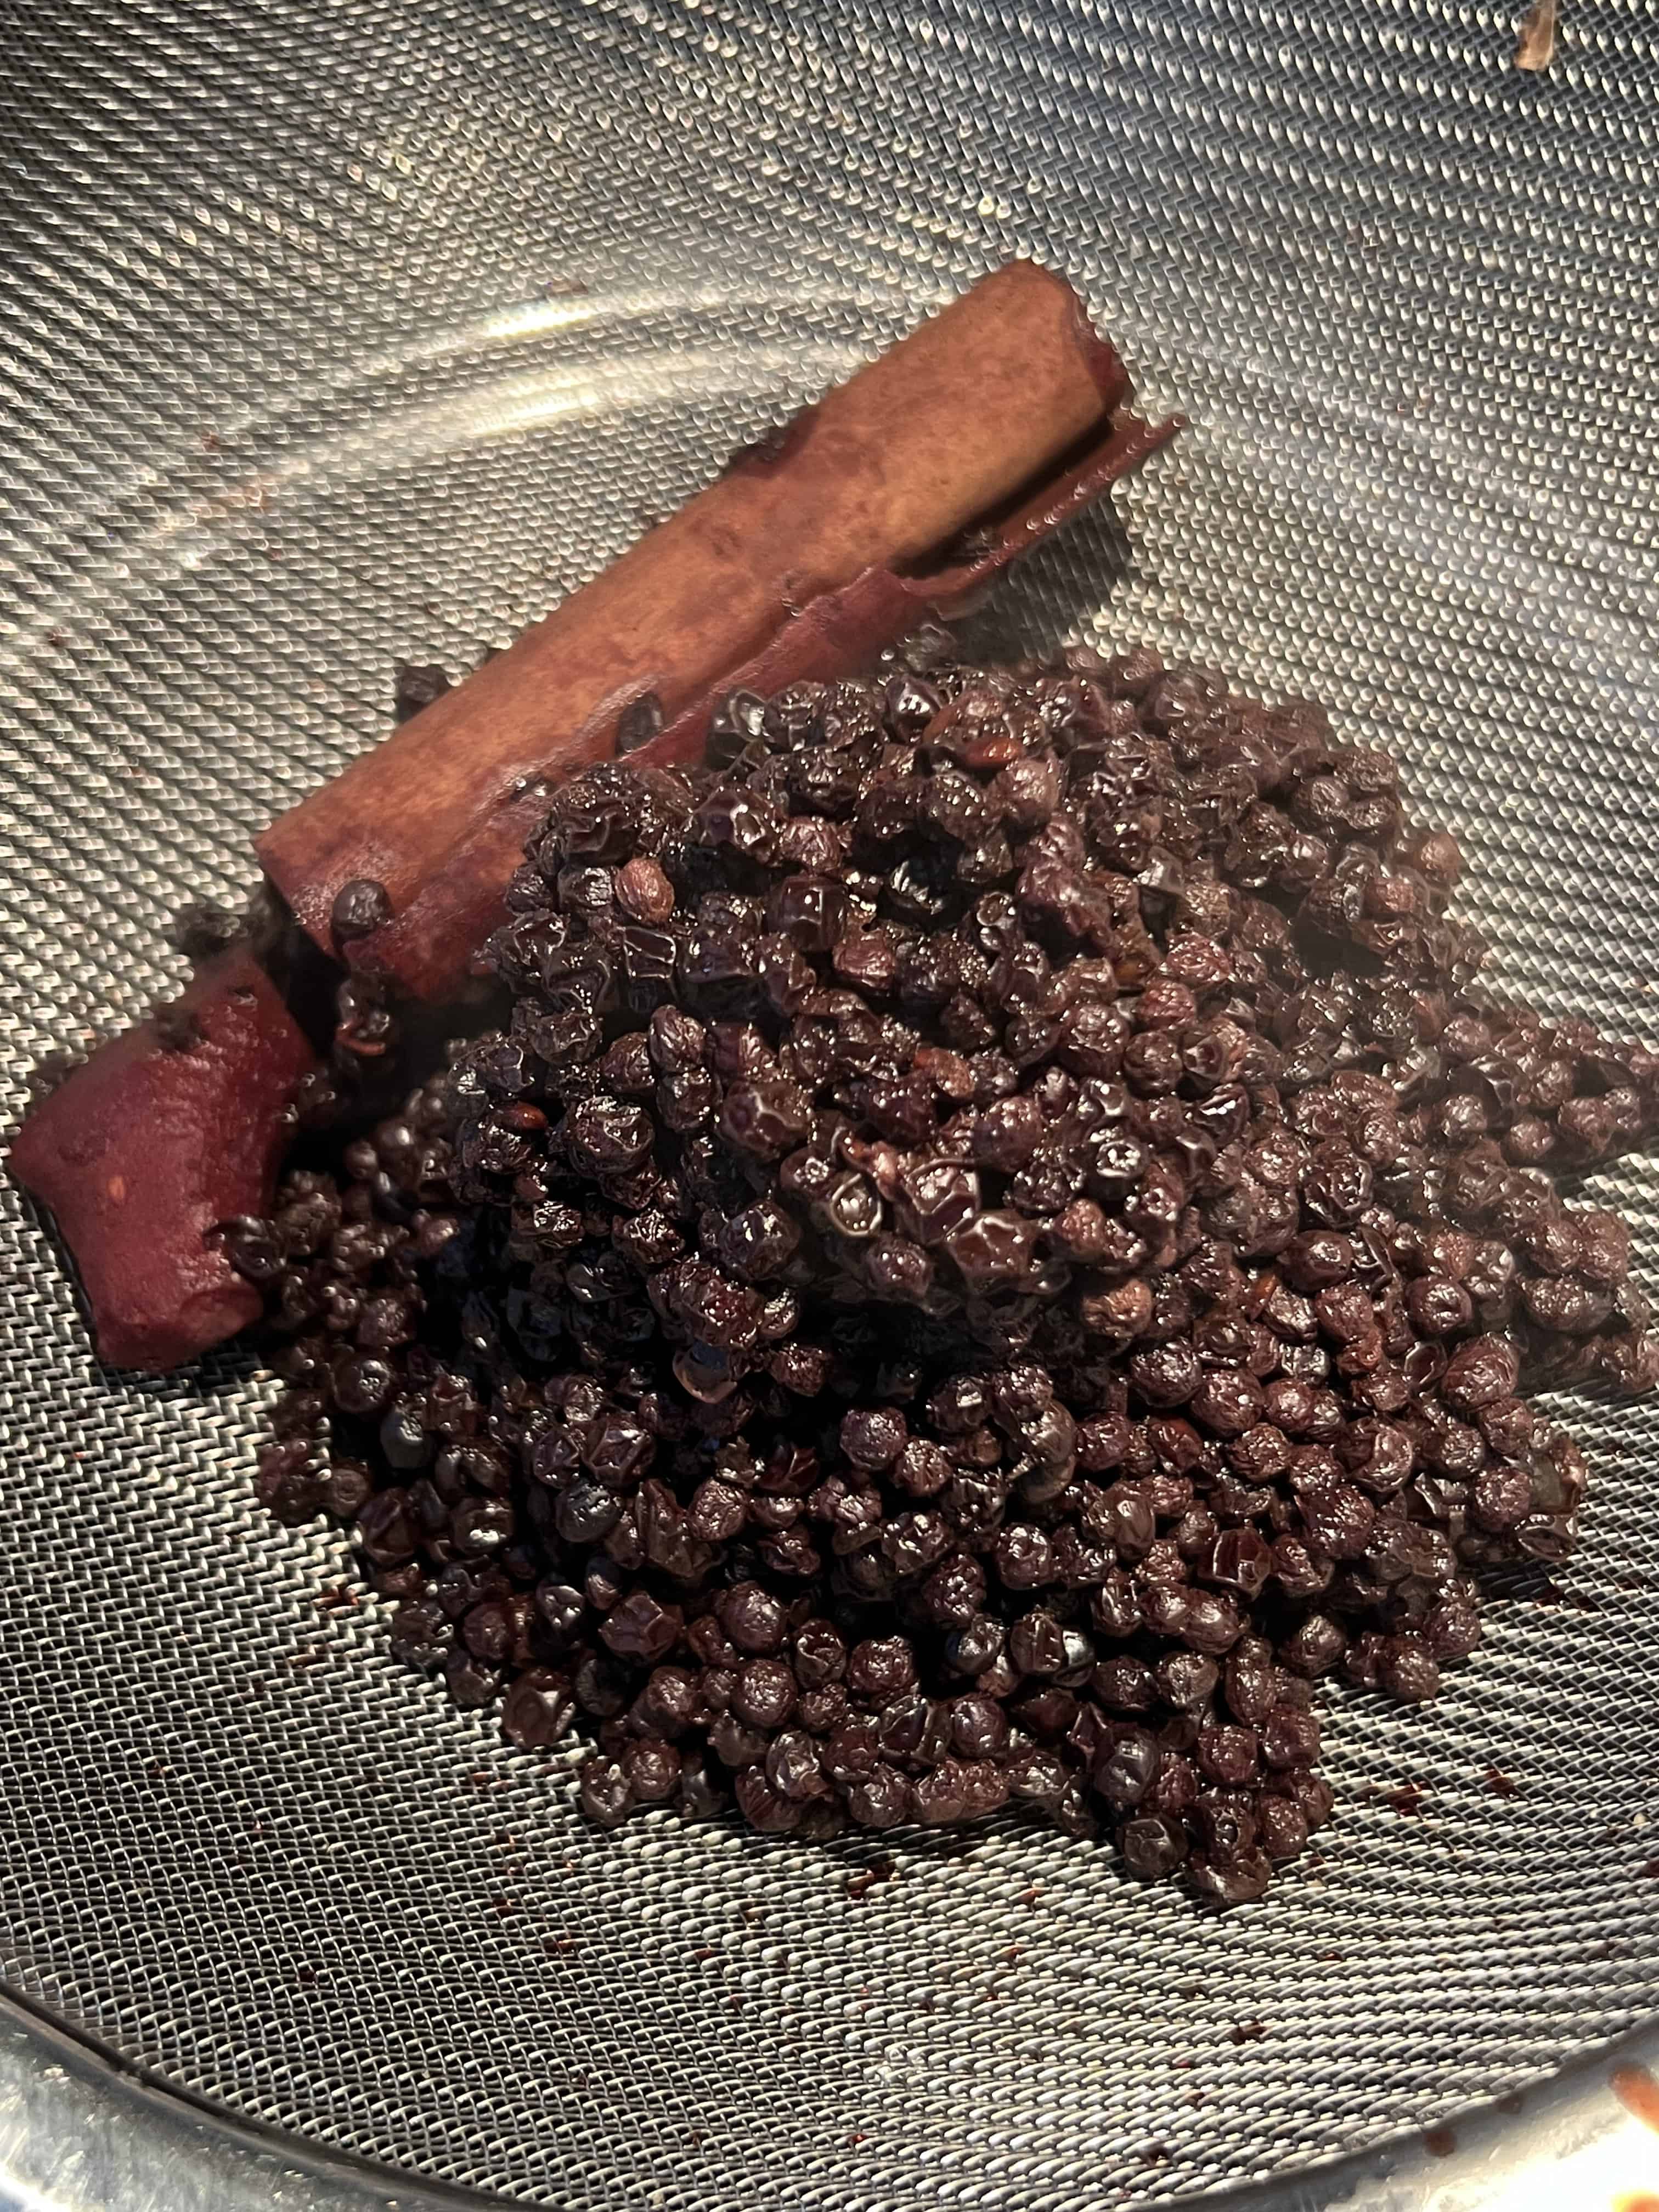
Use a fine mesh strainer or cheesecloth to separate the liquid from the solid dried berries into a clean pot or bowl. Use a wooden spoon to press and squeeze out all of the remaining elderberry juice.
Step 4: Sweeten With Honey
Allow the elderberry liquid to cool before adding the final ingredient – raw honey.
Honey not only adds sweetness to the bitter juice but also brings its own set of immune-boosting and anti-microbial properties to the syrup. Stir in the honey until it’s well incorporated.
*Note: I recommend using local, unpasteurized honey for the best quality and highest concentration of health-supporting properties. Most store-bought honey is pasteurized using very high temperatures, which kills off any beneficial bacteria and enzymes, leaving only sugar syrup.
Step 5: Bottle the Syrup
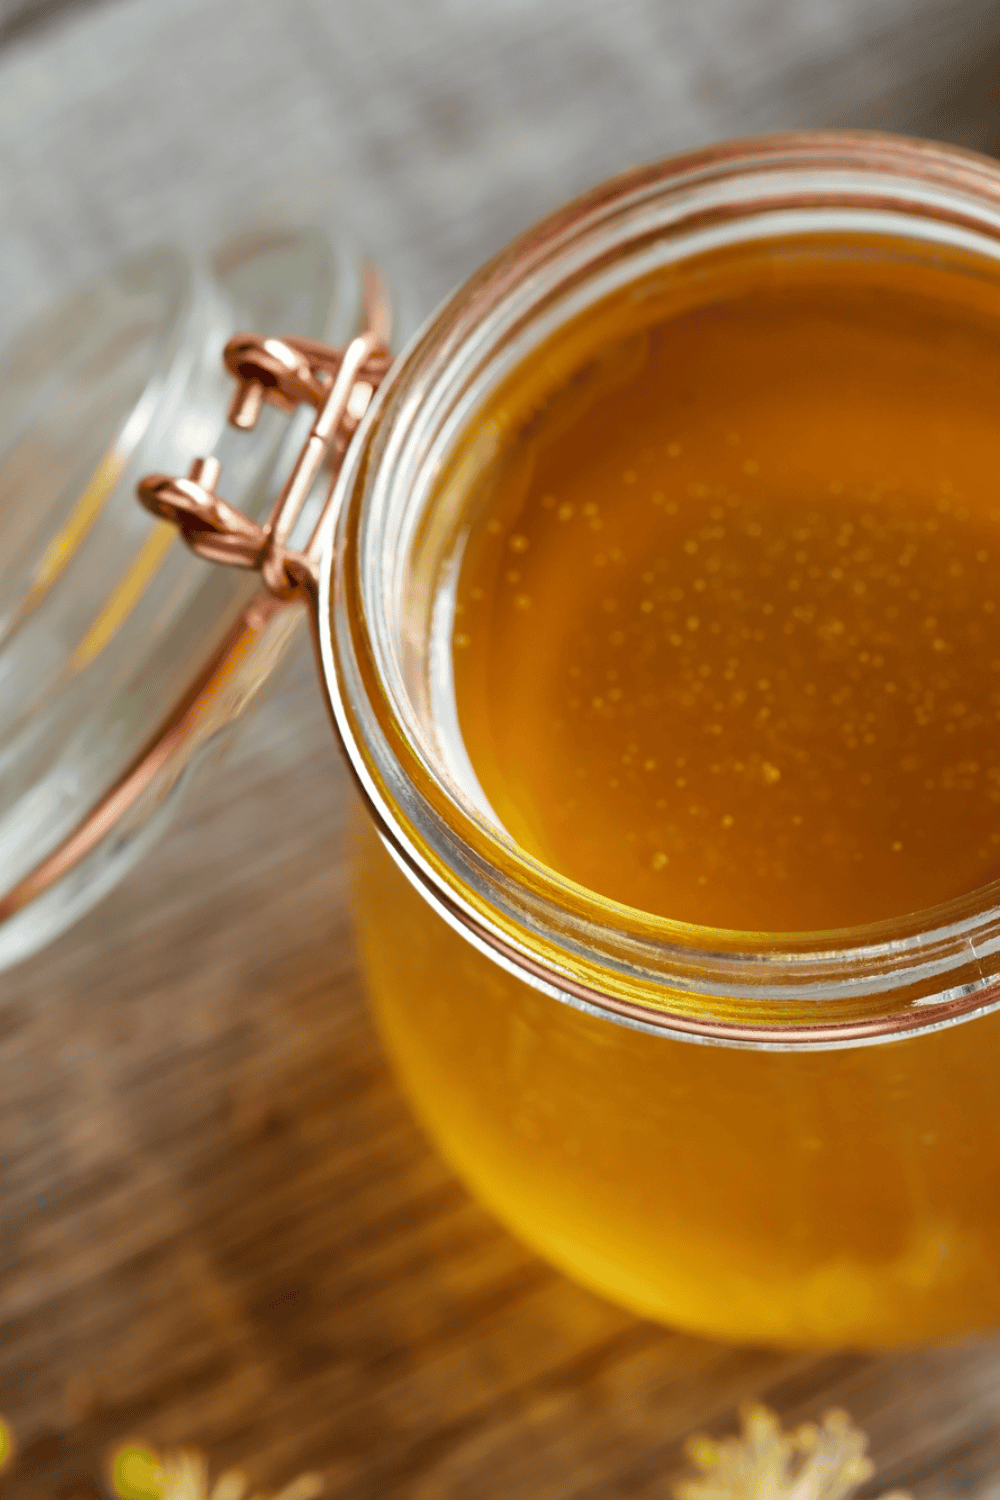
Transfer the finished elderberry syrup into a glass jar or bottle. Make sure it’s completely cooled before sealing it shut. Store your syrup in the refrigerator, making sure it is sealed well, and it should last for several weeks.
More Homemade Remedies You Might Like:
- Boost Your Immunity With This Quick And Easy Fire Cider Recipe
- Easy DIY Fermented Garlic Honey Recipe For Cold & Flu
- Easy Homemade Natural Cough Syrup With Honey And Lemon
How To Use & Suggested Dosage
Now that you have your homemade elderberry syrup, how do you incorporate it into your wellness routine? Here’s are three ways to use it:
3 Ways To Use It:
- Preventative Measure: Take one teaspoon daily during cold and flu season to help support your immune system.
- At the Onset of Illness: If you feel the first signs of a cold or flu, increase your dosage to one tablespoon every 2-3 hours.
- For Children: Adjust the dosage based on weight. A general guideline is 1/2 to 1 teaspoon for children under 12 and 1/2 to 1 tablespoon for teenagers.
Frequently Asked Questions
My syrup is pretty liquidy, is that normal?
Absolutely! It’s totally normal for homemade elderberry syrup to have a liquid consistency. Unlike commercial syrups that commonly contain thickeners or additional ingredients, this homemade version is made with only all-natural ingredients, so it’s likely to be more fluid.
If you want to achieve a thicker consistency in your elderberry syrup, there are a couple of things you can do. The thickness can be influenced by factors such as the specific elderberries used, cooking time, and the amount of honey added.
If you prefer a thicker syrup, you can experiment with increasing the cooking time, using less water or adding more honey. However, keep in mind that the efficacy of the syrup isn’t solely dependent on its thickness!
What can i add to my syrup for extra health benefits?
If you want to enhance the health benefits of your elderberry syrup by incorporating additional immune-boosting ingredients. Try adding:
- Echinacea: A well-known immune system supporter, echinacea can be a valuable addition for extra potency. Add 40-60 drops of echinacea tincture to your elderberry syrup.
- Rosehips: Ultra-rich in vitamin C, rosehips add an extra layer of nutritional value to your syrup. Vitamin C helps speed up recovery from colds and flu and supports a strong immune system.
- Turmeric: Renowned for its anti-inflammatory properties, turmeric complements the immune-boosting effects of elderberries.
- Citrus Zest (Lemon or Orange): Besides adding a delicious burst of flavour, citrus zest brings vitamin C to the mix, known for its immune-supportive qualities.
You can just experiment with small amounts and adjust to your taste preferences, keeping in mind that the core ingredients of your syrup are elderberries, ginger, cinnamon, cloves, and honey.
I like to make my elderberry syrup slightly different in every batch; it keeps things interesting, and I can taste-test new flavours!
How Should I store my elderberry syrup?
To preserve the longevity and potency of your elderberry syrup, store it in a sealed glass jar or bottle in the refrigerator. The cool, dark environment helps prevent spoilage, and the airtight container minimizes exposure to air, which can affect the syrup’s quality over time.
How long does this homemade elderberry syrup recipe last?
Homemade elderberry syrup can last several weeks, up to 6 months when stored in the refrigerator. The natural preservatives in honey also help extend its freshness.
As with all homemade recipes, monitor for any changes in colour, smell, or texture, as these may indicate spoilage. If you notice any signs, it’s best to toss your syrup and prepare a fresh batch.
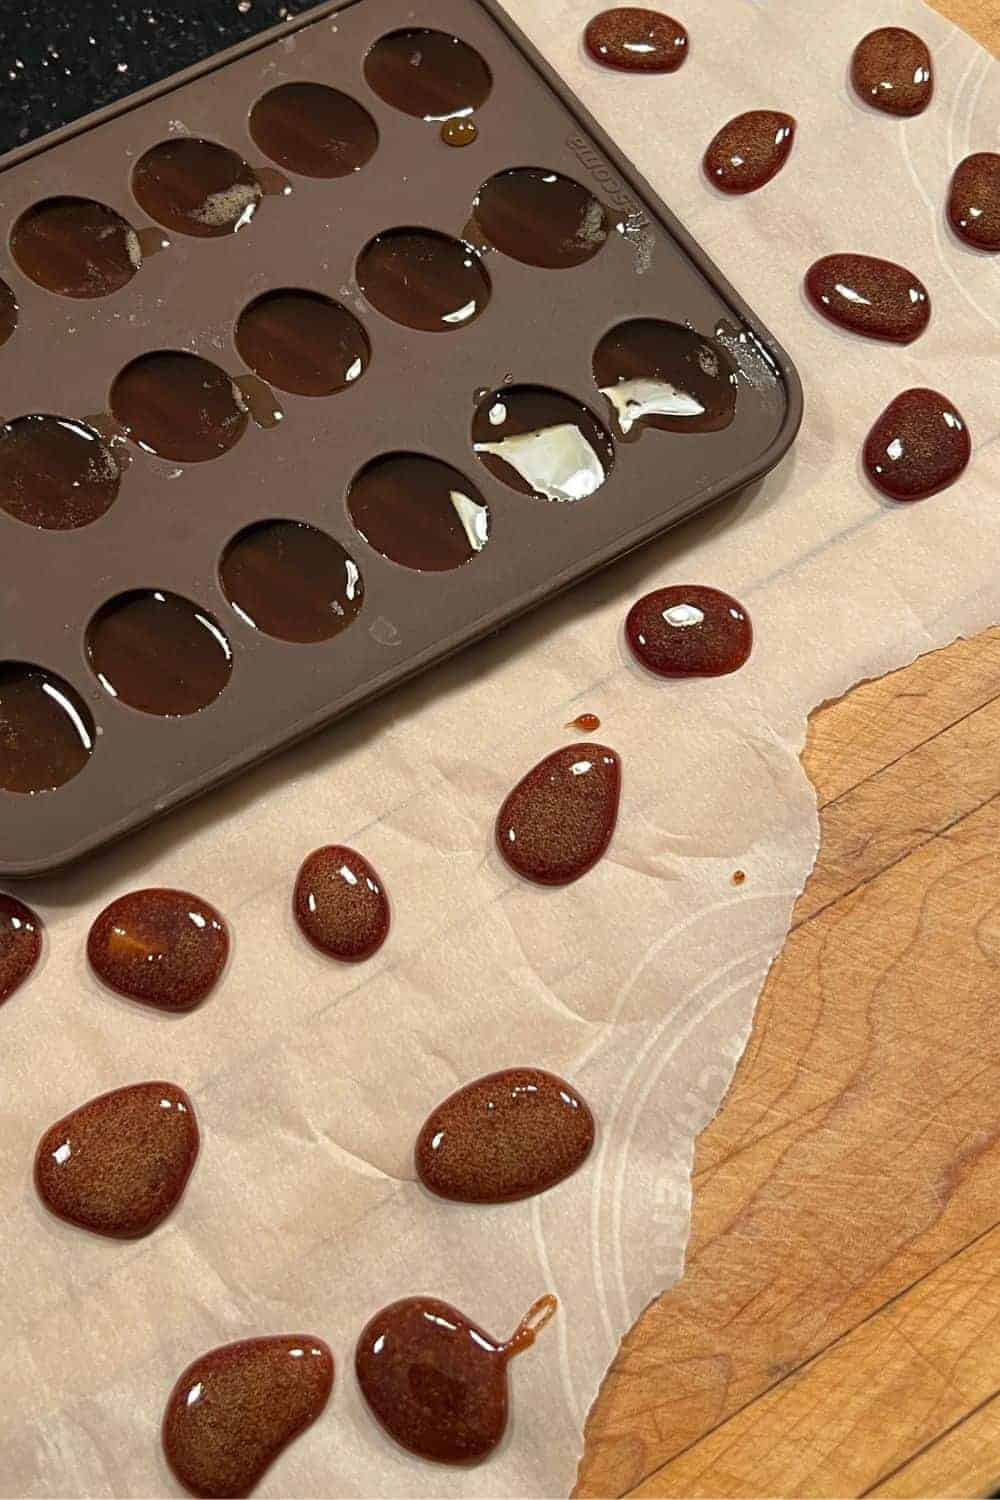
If you know you won’t use your syrup within this timeframe, to extend the life of your syrup, you can freeze your syrup in small portions in ice cube trays and thaw individual cubes as needed.
What Can I do with the elderberries after making syrup?
Don’t waste those elderberries! After making your syrup, repurpose the berries:
- Infuse in Tea: Steep the used elderberries in hot water to create a flavourful, health-supporting tea.
- Top Yogurt or Oatmeal: Add the elderberries over yogurt or oatmeal for added sweetness, texture and fibre!
- Blend into Smoothies: Add the elderberries to your morning smoothie for an extra nutrient boost.
- Make Jam or Sauce: Combine elderberries with other fruits and honey to create a homemade jam or sauce.
Make the most of your leftover berries and minimize waste with these easy ideas!
Note: This is not medical advice. Consult with a healthcare professional before introducing any new supplements, especially if you have underlying health conditions or are taking medications.

