
How To Make Homemade Apple Cider Vinegar From Scraps
You don’t need to buy apple cider vinegar from the store! Learn how to make this homemade apple cider vinegar from scraps that is 100% natural, delicious and inexpensive.
Apple cider vinegar (ACV) has become a household staple, praised for its many health benefits and versatile uses. From improving gut health to soothing dry, irritated skin, apple cider vinegar is a special health tonic.
Check out these Amazing Health Benefits Of Apple Cider Vinegar And The Best Ways To Take It.
But did you know that you can make it at home using the apple peels and cores that end up in your compost bin? To turn your apple scraps into your own healthy apple cider vinegar you just need apple peels, cores, sugar and a glass jar.
It’s time to start making your pantry staples at home! Making your own ACV is better in many ways – it’s 100% natural, contains the health-supporting “mother”, is sustainable and super inexpensive to make!
What You’ll Need
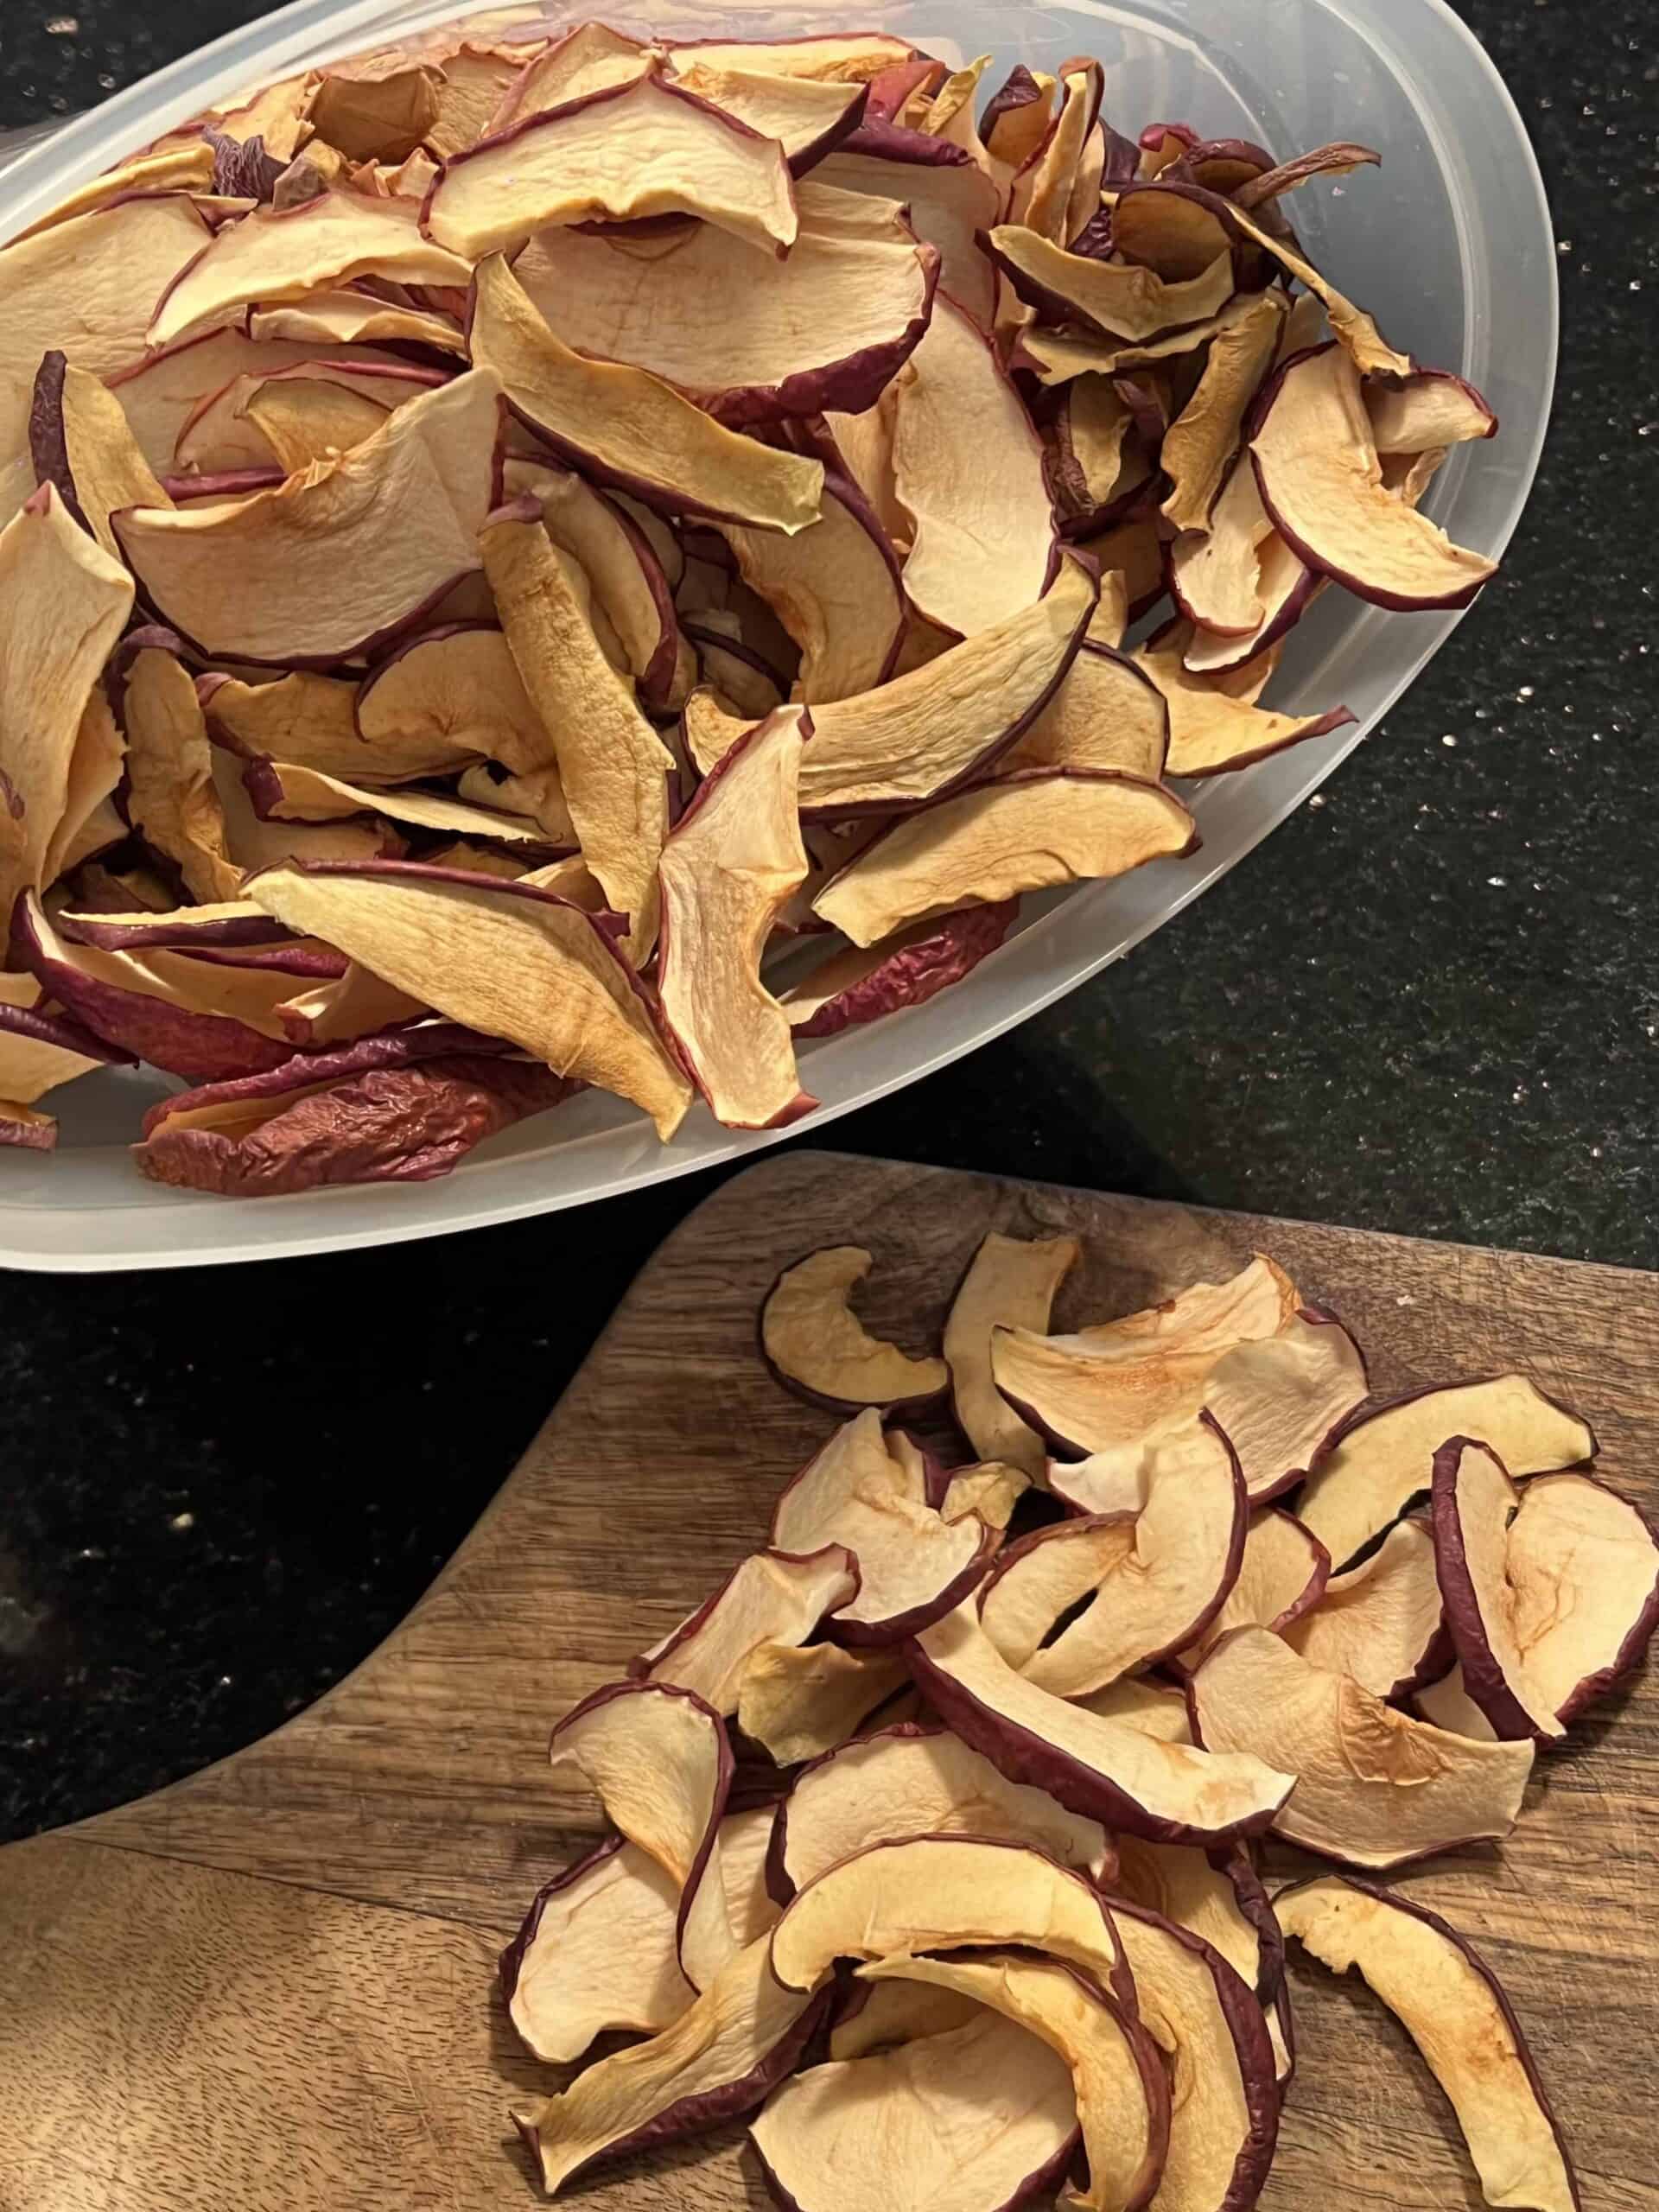
- Apple peels and cores (organic if possible)
- 2 tbsp sugar
- Water
- A large, clean glass jar (16-32 oz)
- Cheesecloth or a coffee filter
- Rubber band
What Makes Apple Cider Vinegar Special?
Before diving into this DIY apple cider vinegar recipe, let’s quickly revisit what makes apple cider vinegar so special.
ACV is created through a two-step fermentation process. First, sugars in the apple juice are converted to alcohol by yeast. Then, bacteria turn the alcohol into acetic acid, the star component of vinegar, giving it that distinct tangy flavor and potent health properties.
Why You’ll Love Making Homemade Apple Cider Vinegar
- Natural, unpasteurized – With homemade ACV you get a natural, unpasteurized version – with the mother. The mother adds beneficial bacteria, vitamins and minerals that store-bought versions have removed.
- Inexpensive – This recipe uses scraps! The cost is incredibly minimal. Otherwise you just need 2 tbsp of sugar to make 1L of ACV. That’s almost free in comparison to store-bought ACV selling for $14!
- Delicious – Store-bought ACV can be incredibly sour and bland. With homemade ACV you can use different apple varieties to create different flavours – which makes it so much yummier to cook with!
- Healthy – ACV is known for its wide range of health benefits. From digestive health to healthy skin, ACV should become a staple in your diet for a healthy body.
- Easy – Making your own apple cider vinegar is super simple! With this recipe, there is less than two minutes of prep work! Just add the scraps to the jar, add sugar and water, and that’s it!
Which Apples Should I use To Make Apple Cider Vinegar?
Not all apples are created equal when it comes to making homemade apple cider vinegar. While you can use any apple variety, aim to use organic apples to avoid introducing unnecessary pesticides into your brew.
Generally, most non-organic apples in stores have been sprayed with some pesticide. Similarly, if an apple appears “shiny,” it has been sprayed with a wax coating to keep it fresh for longer.
Opt for organic, wax-free apples.
Gather the peels and cores from about six to eight apples, ensuring they are clean and free from any blemishes.
Homemade Apple Cider Vinegar Recipe
Step 1: Prep the Apples
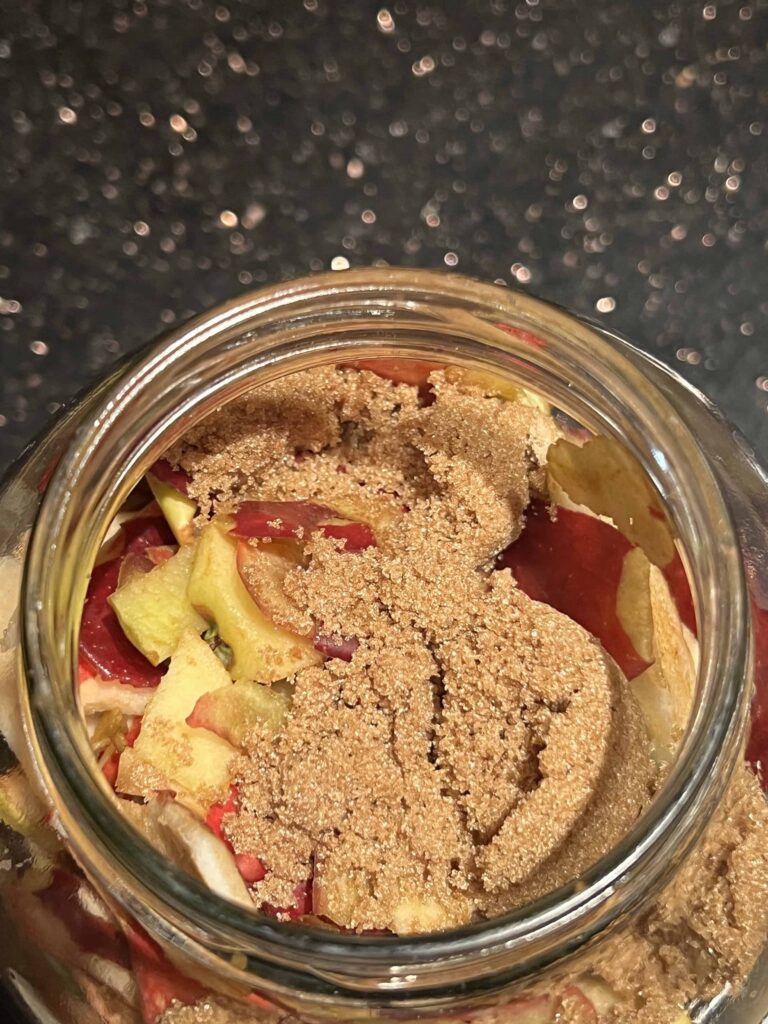
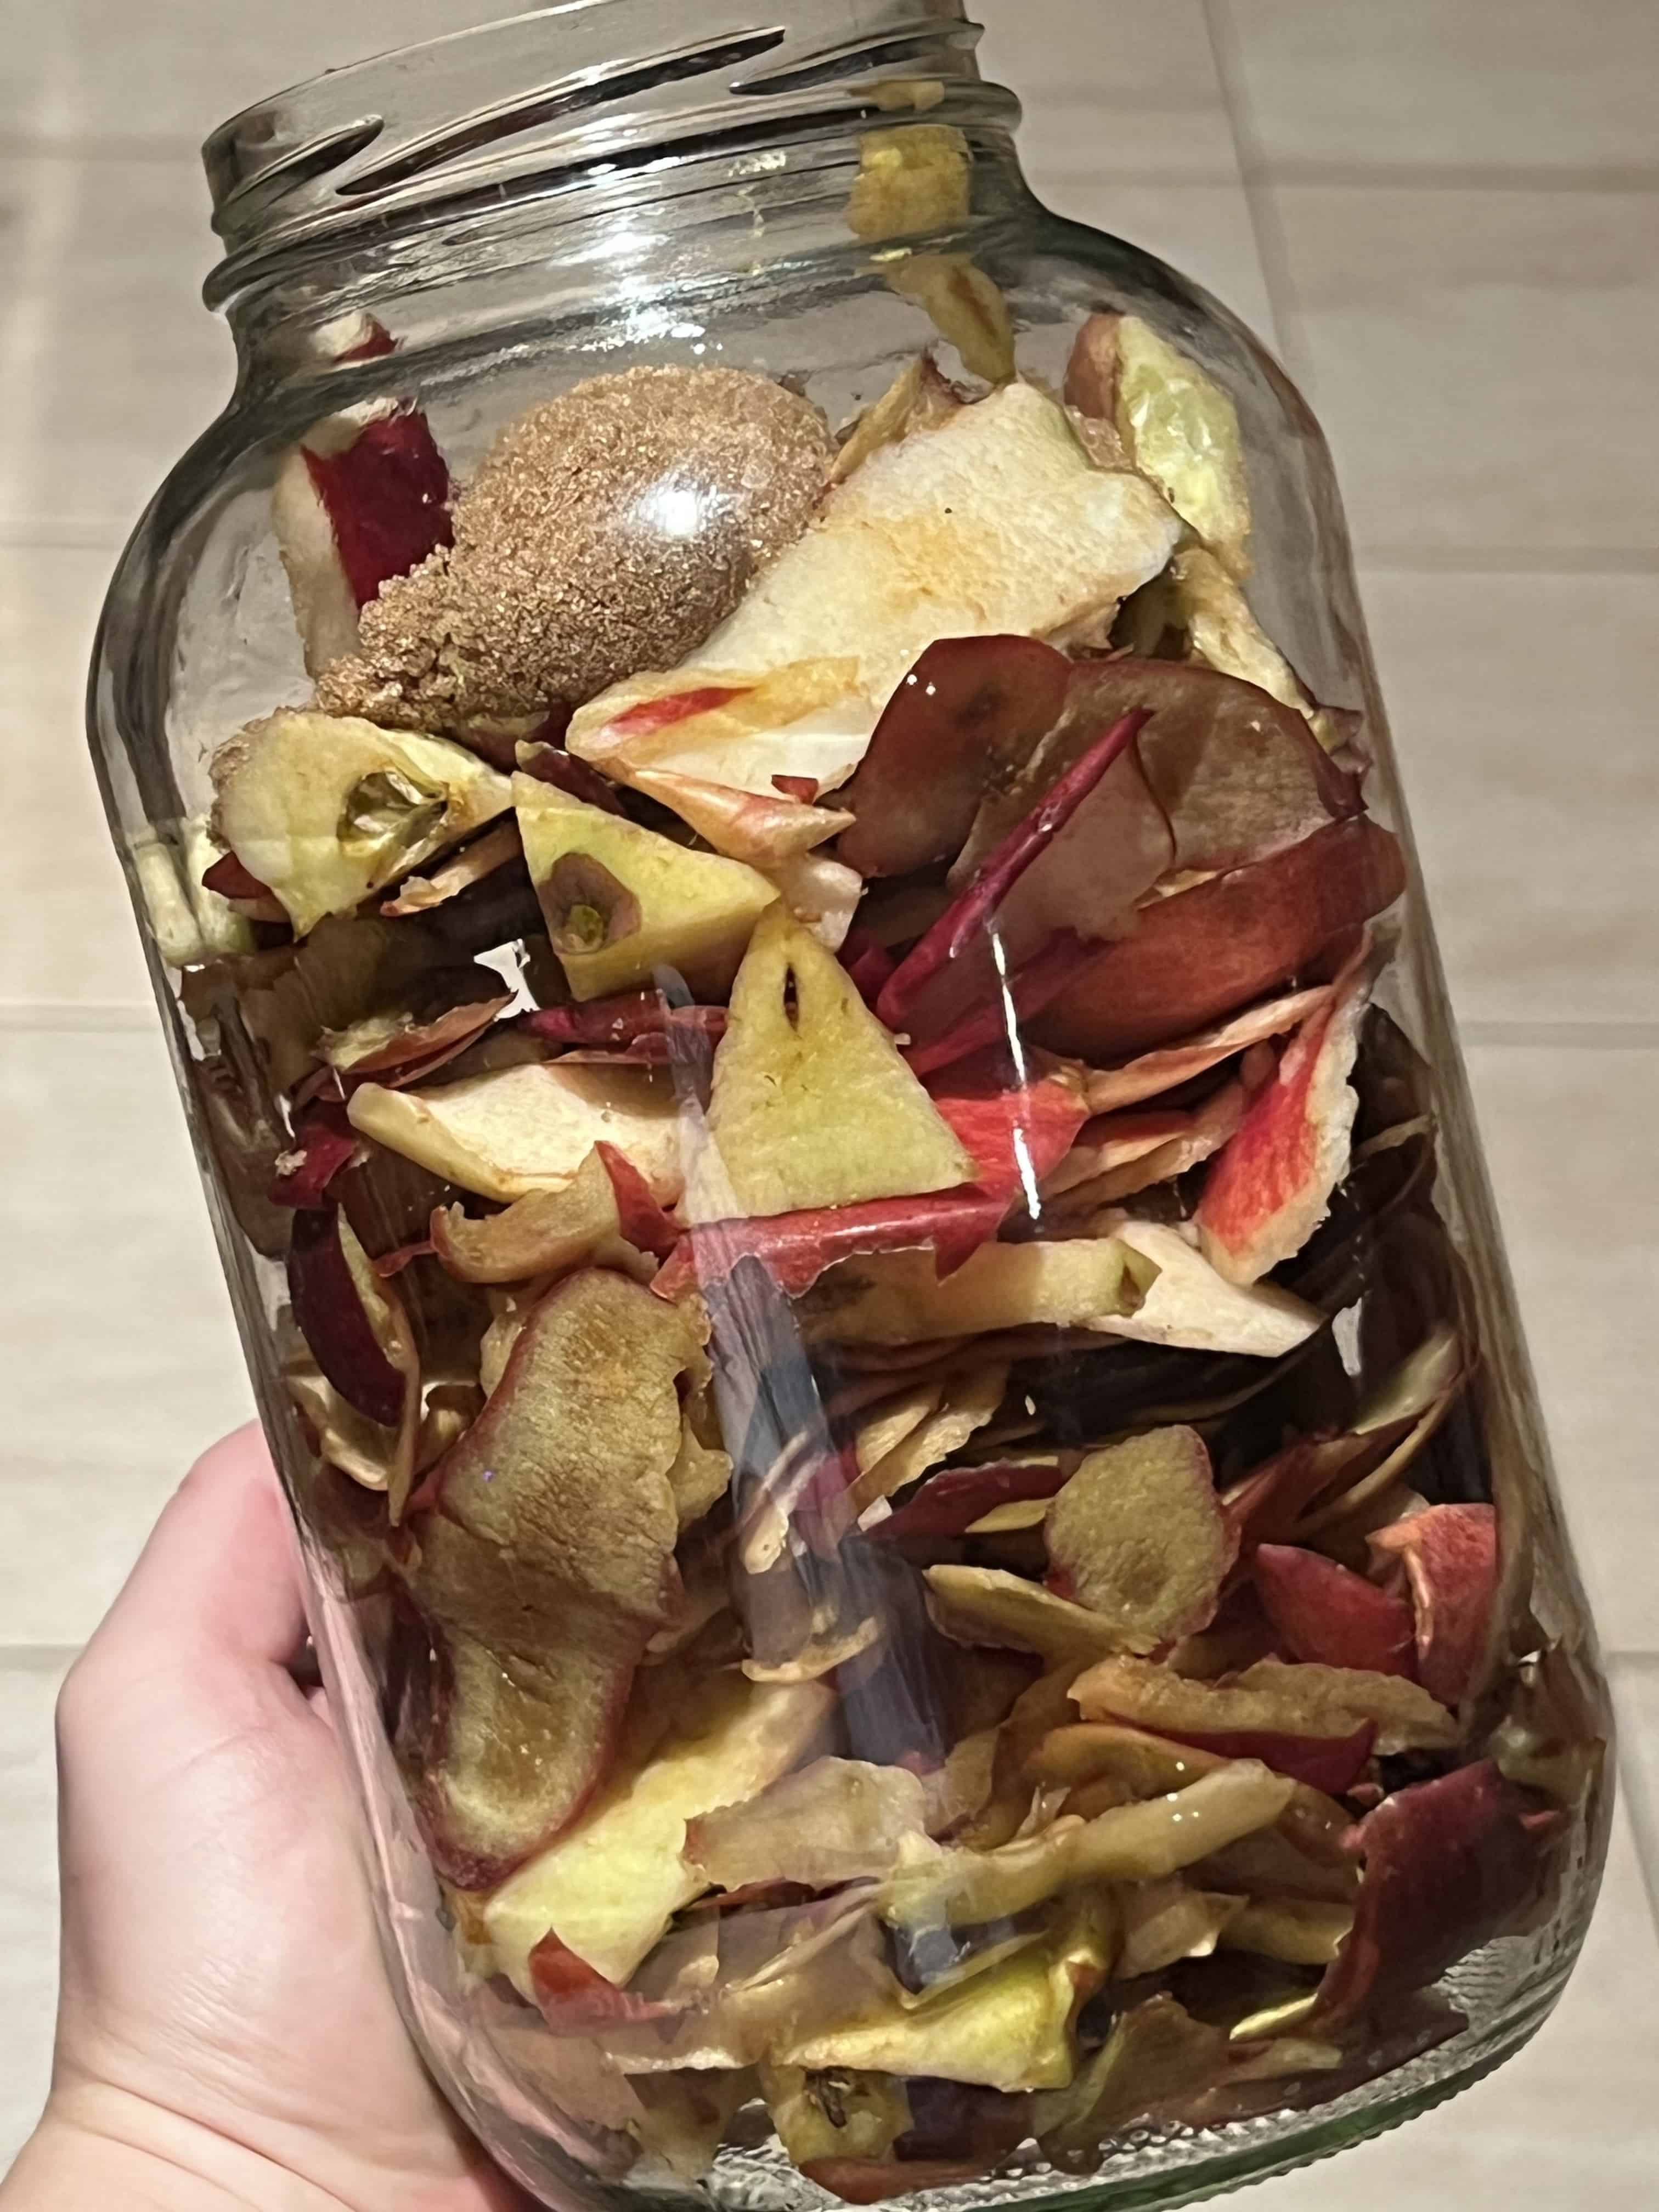
Gather your apple peels and cores (seeds, stems and all!) and place them into your clean glass jar. You’ll want to press them down a couple of times to fit more peels in.
If you don’t have scraps ready, first wash your apples thoroughly. Then peel all of your apples and core them either by cutting them into quarters or by using a corer.
Step 2: Add the sugar
To kickstart the fermentation process, you’ll need to add sweetness. Although apples possess natural sugars on their own, it is not enough for a strong fermentation process, so they need a little jump start.
Add 2 tbsp of sugar to your jar filled with apple scraps. This creates a sweet environment that will attract the necessary bacteria and yeast for good fermentation.
Step 3: Add Water & Mix
Add filtered water to your apple scraps and sugar, filling to the top of your glass jar. Give it a good stir to make sure all the apple scraps are submerged in the liquid and that the sugar has somewhat dissolved throughout.
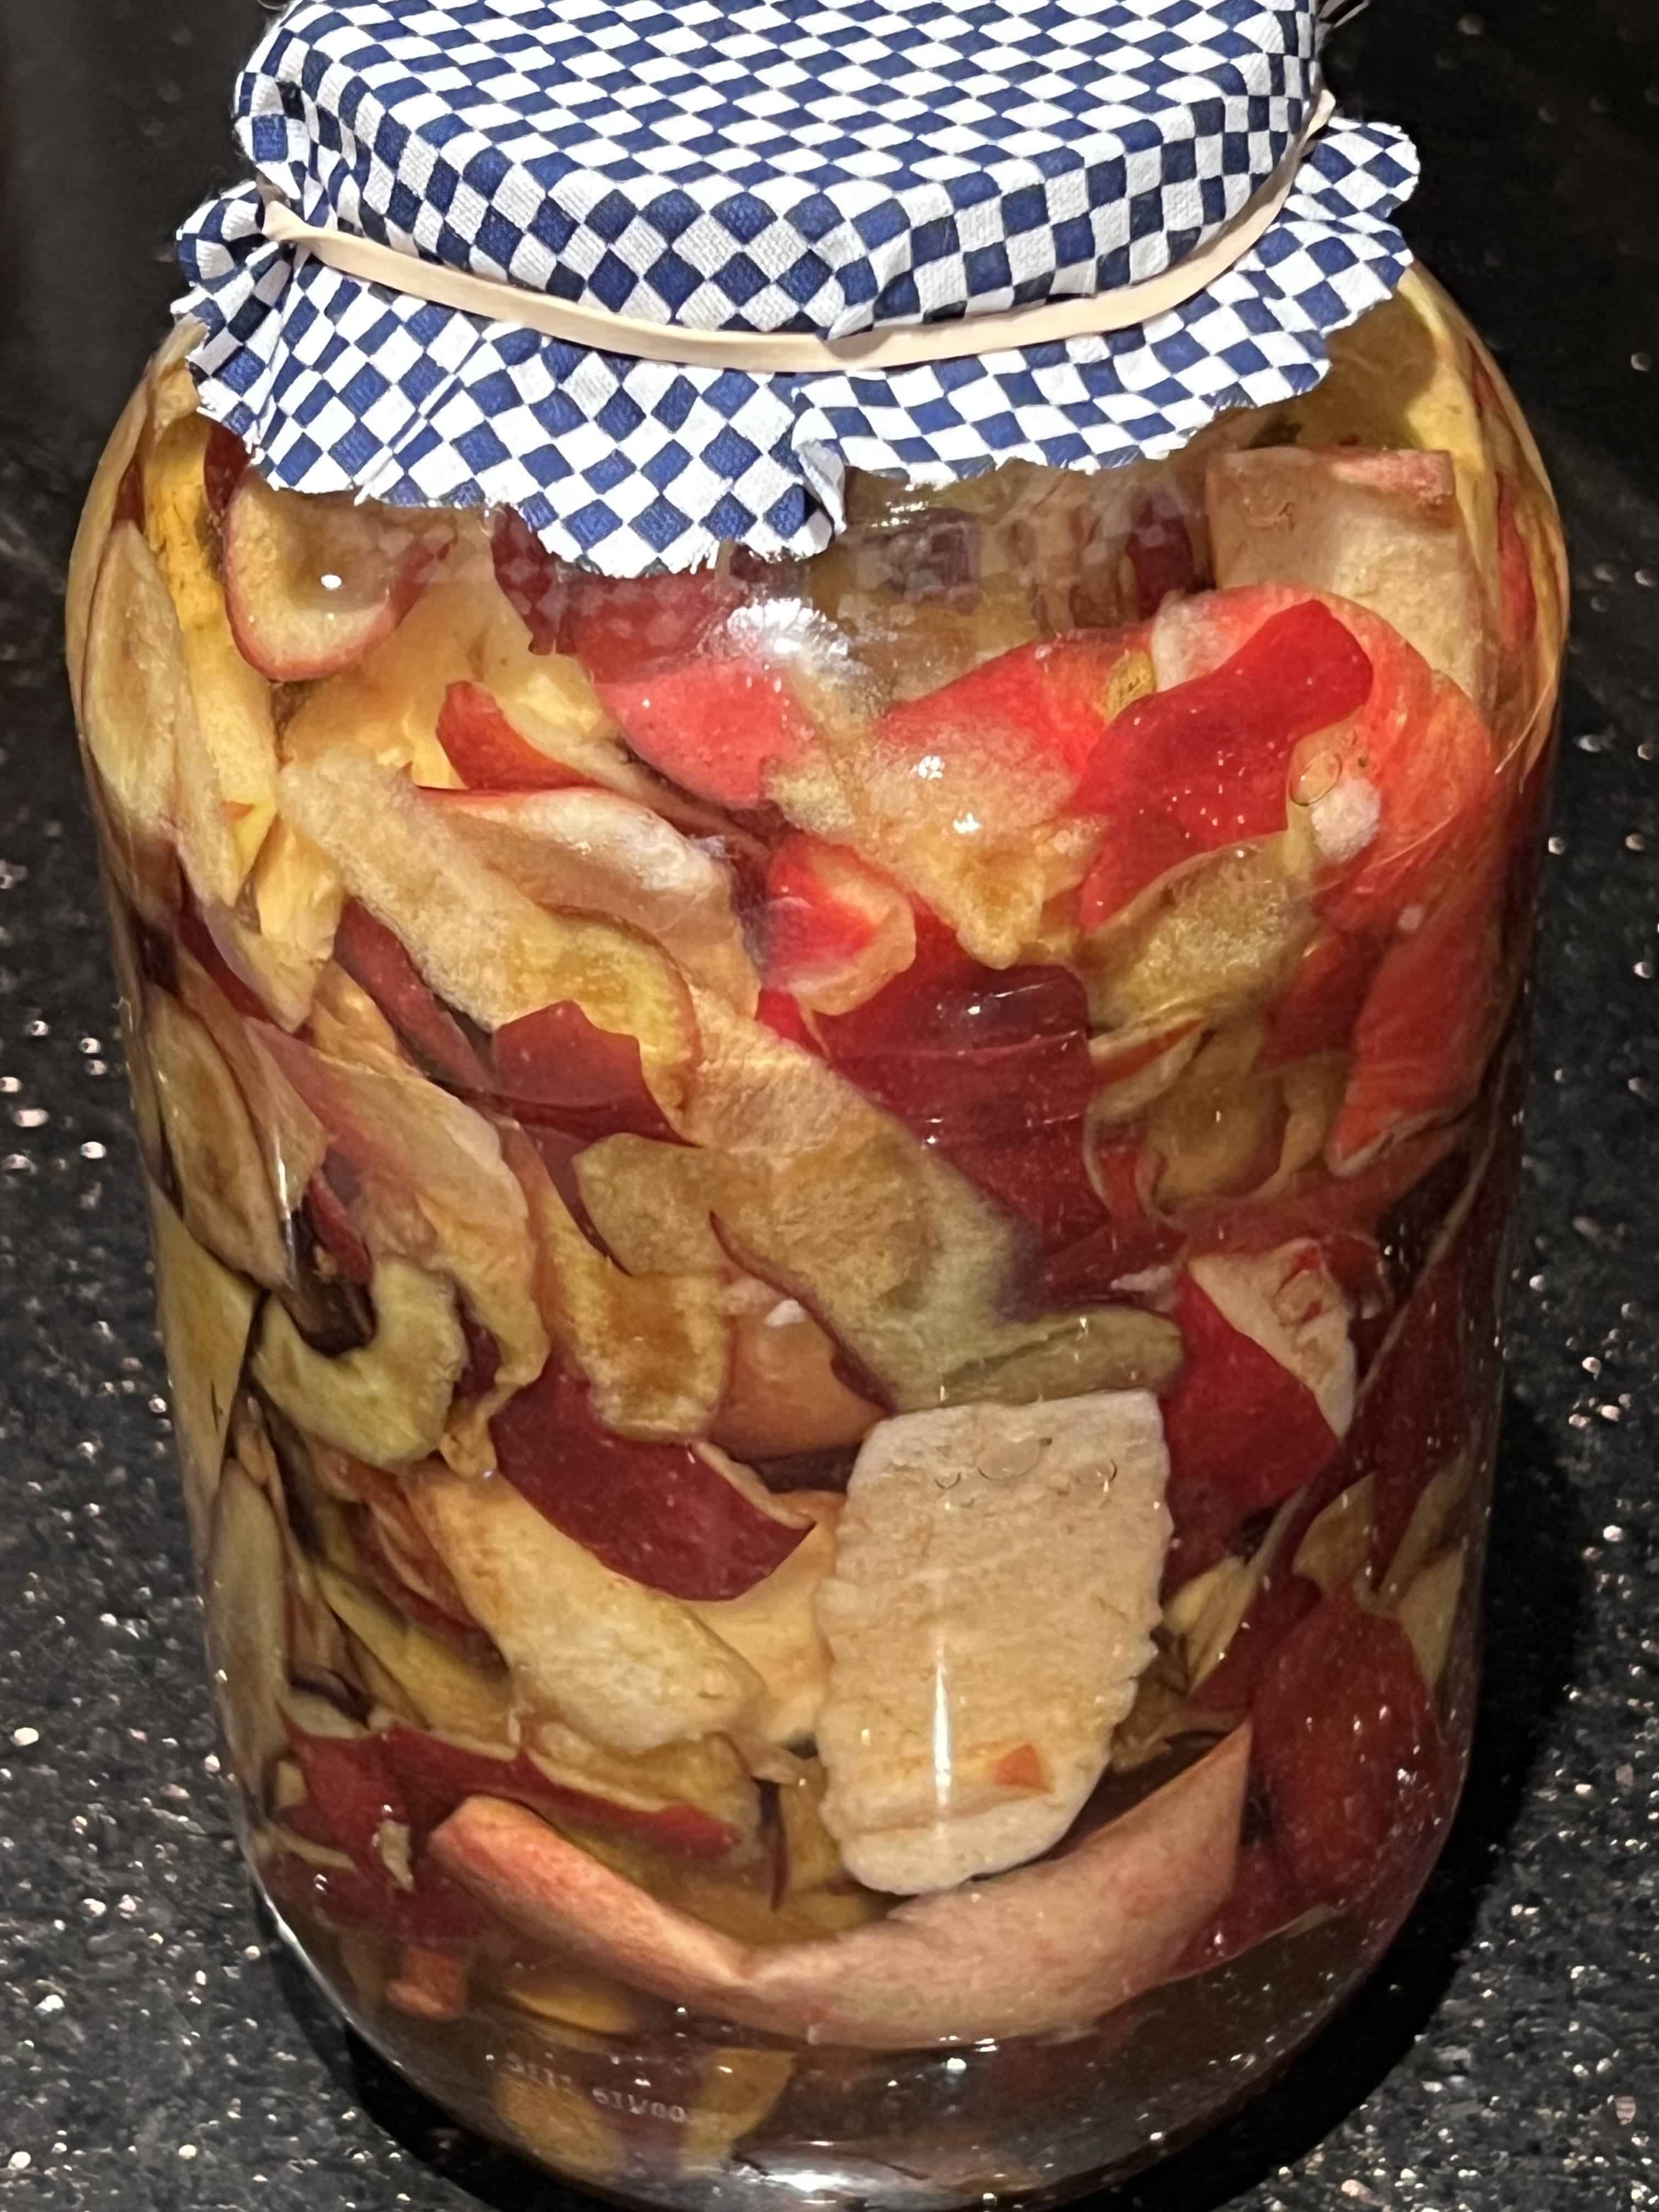
Cover the jar with cheesecloth or a coffee filter, securing it with a rubber band. This allows air in while keeping pesky fruit flies out.
I like to put a dated sticky note on the jar so I can track the fermentation progress and can remember when I started it.
Step 4: The Waiting Game
Place your jar in a warm, dark place and let nature do its work.
Stir the mixture every couple of days to aerate it and promote the fermentation process. After a week, you’ll start to notice bubbles forming, indicating that the yeast is happily converting those sugars into alcohol.
You’ll see lots of bubbles forming and moving like in the above video. Leave the peels to ferment for one week.
Step 5: Strain The Peels
Around the second week, the alcohol smell will become prominent, signalling the end of the first fermentation phase.
Strain out the apple scraps and return the liquid to the jar, letting the apple infusion ferment for another 2-4 weeks.
Step 6: Second Fermentation – Acetic Acid
The second fermentation phase is all about transforming that alcohol into acetic acid.
Cover the jar again and let it sit for an additional two to four weeks. During this time you’ll likely see a SCOBY (Symbiotic Culture of Bacteria and Yeast) growing on the top of your liquid – (a pale whiteish/beige rubber film).
This is a great sign! It means your apple cider vinegar is happy and fermenting! During these two weeks, the SCOBY will continue to thicken. This is normal.
Taste it along the way; once it reaches your desired level of acidity, your homemade apple cider vinegar is ready for use!
Step 7: Bottle and Enjoy
Once it’s been a couple of weeks and you’re satisfied with the flavour, Use a funnel to pour your homemade apple cider vinegar into a clean, airtight glass bottle or jar.
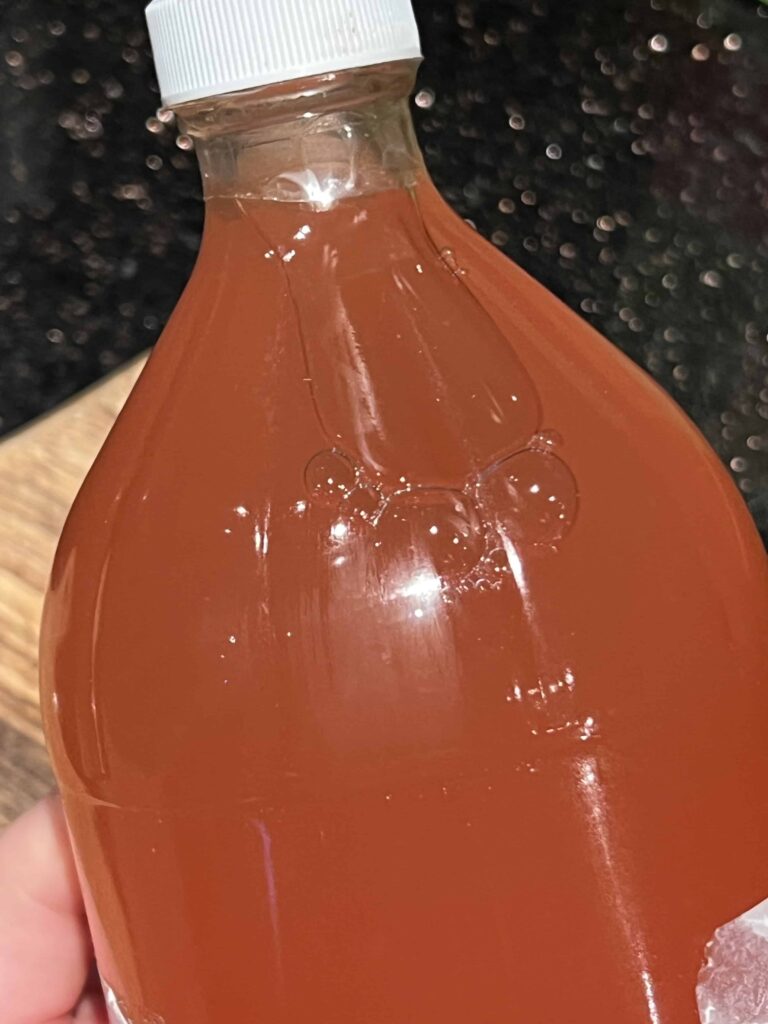
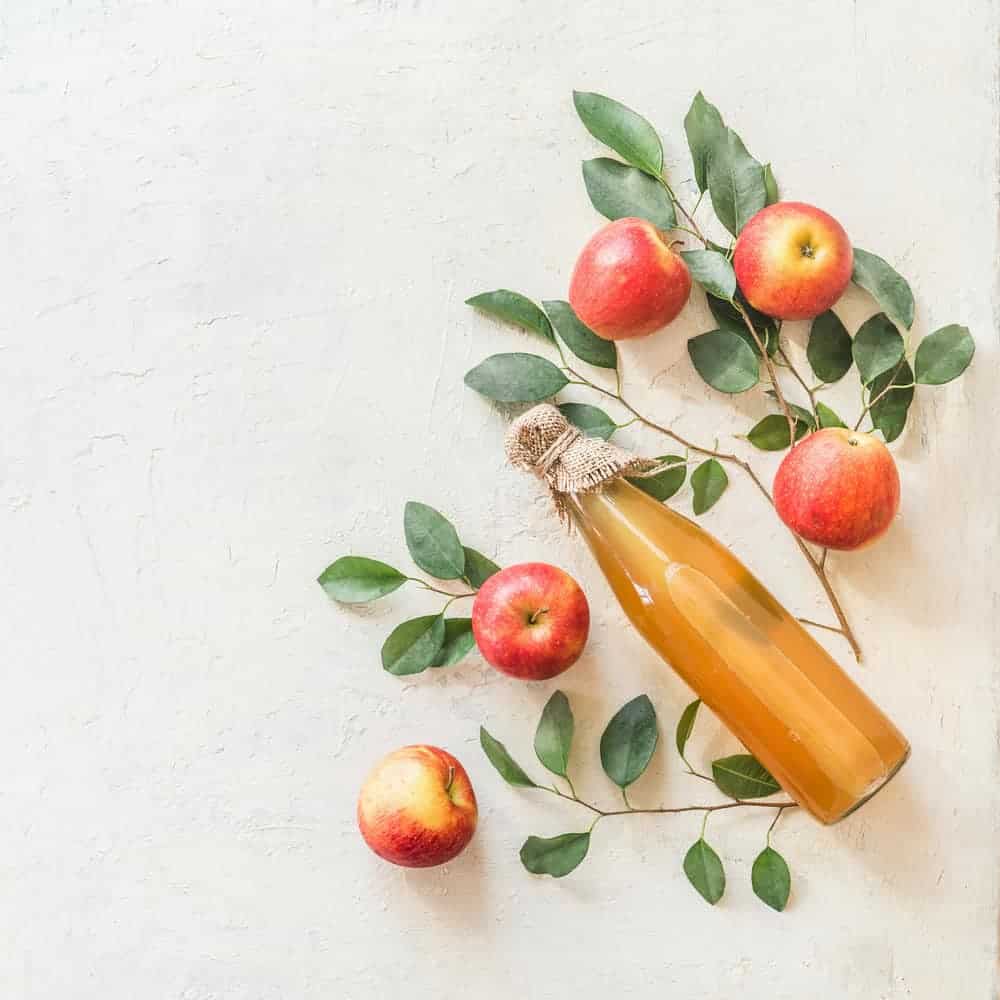
In this batch, I used the peels from Red Delicious apples, so my apple cider vinegar came out pink! How fun!
You’ve successfully transformed apple scraps into your own apple cider vinegar! It’s now ready to be incorporated into your nourishing recipes and daily health routine.
PrintHow To Make Homemade Apple Cider Vinegar From Scraps
Description
Easy homemade apple cider vinegar from apple peels and scraps!
Ingredients
Apple peels and cores (organic if possible – enough to fill your glass jar, packed tightly)
2 tbsp brown sugar
Water
Instructions
- Gather your apple peels and cores (seeds, stems and all!) and place them into your clean glass jar. You’ll want to press them down a couple of times to fit more peels in. If you don’t have scraps ready, first wash your apples thoroughly. Then peel all of your apples and core them either by cutting them into quarters or by using a corer.
- To kickstart the fermentation process, you’ll need to add sweetness. Although apples possess natural sugars on their own, it is not enough for a strong fermentation process, so they need a little jump start. Add 2 tbsp of sugar to your jar filled with apple scraps. This creates a sweet environment that will attract the necessary bacteria and yeast for good fermentation.
- Add filtered water to your apple scraps and sugar, filling to the top of your glassjar. Give it a good stir to make sure all the apple scraps are submerged.
- Cover the jar with a cheesecloth or a coffee filter, securing it with a rubber band. Place your jar in a warm, dark place and let nature do its work.
- Stir the mixture every couple of days to aerate it and promote the fermentation process. After a week, you’ll start to notice bubbles forming, indicating that the yeast is happily converting those sugars into alcohol. You’ll see lots of bubbles forming and moving like in the above video. Leave the peels to ferment for one week. Around the second week, the alcohol smell will become prominent, signalling the end of the first fermentation phase.
- Strain out the apple scraps and return the liquid to the jar, letting the apple infusion ferment for another 2-4 weeks.
- The second fermentation phase is all about transforming that alcohol into acetic acid. Cover the jar again and let it sit for an additional two to four weeks. During this time you’ll likely see a SCOBY (Symbiotic Culture of Bacteria and Yeast) growing on the top of your liquid – (a pale whiteish/beige rubber film). This is a great sign! It means your apple cider vinegar is happy and fermenting! During these two weeks, the SCOBY will continue to thicken. This is normal.
- Taste it along the way; once it reaches your desired level of acidity, your homemade apple cider vinegar is ready for use! Once it’s been a couple of weeks and you’re satisfied with the flavour, Use a funnel to pour your homemade apple cider vinegar into a clean, airtight glass bottle or jar.
Tips and Tricks for a good apple cider vinegar
To make sure your homemade apple cider vinegar turns out great, there are a couple of tips you can use!
1. Patience is key
Quality apple cider vinegar is the result of time and patience. Don’t rush the fermentation process; let the magic happen naturally.
If your apple cider vinegar isn’t quite ready after the three weeks, don’t worry! Just give it some more time to ferment and fully develop.
2. Go Organic
Whenever possible, choose organic apples to ensure a cleaner, pesticide-free brew.
If you’re making your own apple cider vinegar you want it to be high quality! The better the ingredients you use the better the apple cider vinegar will turn out. Organic apples tend to be richer in flavour too, resulting in a more flavourful ACV.
Plus, since this recipe is based on apple scraps, mainly peels (which pesticides coat), you don’t want all those pesticides in your ACV!
3. Experiment with Flavours
Once you’ve successfully made your first batch of homemade apple cider vinegar, try experimenting with different apple varieties for different flavours!
You can also add a twist to your vinegar by infusing it with herbs, spices, or even citrus peels during the second fermentation phase.
Fresh herbs add flavour and additional health properties! I’d recommend trying:
- Rosemary
- Thyme
- Basil
- Mint
- Oregano
- Lavender
- Chives
- Sage
4. Save the “Mother”
If you notice a cloudy “dust-like” substance forming in your vinegar, don’t panic. This is the “mother,” a collection of beneficial bacteria that enhances the vinegar’s health benefits.
Keep this in your apple cider vinegar! It’s a source of beneficial bacteria that support a healthy digestive system. Store-bought ACVs usually don’t have the mother in them as they are pasteurized and filtered.
4 fantastic uses for homemade apple cider vinegar
You can use your homemade apple cider vinegar in more ways than just as an addition to your pantry; it’s a versatile elixir with many benefits!
1. Digestive Health
ACV is renowned for aiding digestion. Start your day with a teaspoon in a glass of water for a digestive boost.
2. Kitchen Staple
Use your homemade apple cider vinegar in dressings, meat marinades, and pickling for an extra burst of flavour. Here are 17 Ways To Cook With Apple Cider Vinegar That Actually Taste Amazing.
3. Beauty Hack
Apple cider vinegar is known for it’s soothing and balancing properties for skin and scalp health.
Dilute ACV with water and use it as a hair rinse for shiny, healthy hair and dandruff control. It can also be a refreshing addition to your skincare routine as a facial toner.
Use your homemade apple cider vinegar for this DIY Apple Cider Vinegar Hair Rinse Recipe for an irritated scalp and dandruff or this Rosemary And Apple Cider Vinegar Hair Rinse for hair growth.
4. Immune Support
Loaded with beneficial bacteria from the mother, homemade apple cider vinegar may contribute to a healthy immune system by adding these beneficial bacteria to your digestive tract.
Your gut health is closely linked with the immune system!
Use your DIY apple cider vinegar to make this Immune-Boosting Easy Fire Cider Recipe! It’s the perfect natural remedy for staying healthy all winter long.
Frequently Asked Questions
Why did my homemade apple cider vinegar mold?
Mold in homemade apple cider vinegar can occur if the fermentation environment is not properly controlled. Here are a few reasons why your ACv might have developed mold:
- Insufficient Cleaning: If the apples or glass jar used aren’t thoroughly cleaned, it can introduce unwanted bacteria or mold spores.
- Exposure to Air: Poorly sealed containers or jars can allow air to enter, promoting the growth of mold instead of the desired acetic acid bacteria.
- Inadequate Stirring: Irregular stirring during the fermentation process can create pockets where mold can develop.
To prevent mold, ensure cleanliness, use a coffee filter or a cheesecloth to cover, and stir the mixture regularly during fermentation.
How do you prevent mold when making apple cider vinegar?
To help prevent mold on your apple cider vinegar, there are a couple of things you can do to help maintain optimal conditions for fermentation and minimize the risk of mold:
- Cleanliness is Key: Ensure that your apples, utensils and jar, are thoroughly cleaned before starting the process.
- Proper Cover: Use a coffee filter or cheesecloth to minimize excess exposure to air.
- Regular Stirring: Stir the mixture over couple of days during the fermentation process to promote a uniform environment and discourage mold growth.
- Keep It Submerged: Make sure that all of the apple scraps remain submerged in the fluid throughout the first week of fermentation. This will help prevent mold from growing on top!
By following these steps, you can significantly reduce the likelihood of mold and increase the chances of a successful batch of homemade apple cider vinegar.
How do I know My homemade apple cider vinegar is good?
A good homemade apple cider vinegar should have a tangy, acidic smell and taste. It may appear cloudy, and you might notice a cloudy sediment settling at the bottom – this is the “mother” and is a sign of a healthy vinegar.
If it has an off-putting odour, an unusual colour, or mold growth, it’s best to discard it. Always trust your senses; if it looks, smells, or tastes off, err on the side of caution!
How do you store homemade apple cider vinegar?
Proper storage is key to maintaining the quality of your homemade apple cider vinegar.
Store it in a cool, dark place, away from direct sunlight and heat. Use a glass container with a tight-fitting lid to prevent air from seeping in, as exposure to air can compromise the vinegar.
Avoid using metal containers, as the acidity of the vinegar can react with and erode certain metals over time.
Although your ACV doesn’t need to be stored in the refrigerator, I tend to do so to preserve its quality.
How long is homemade apple cider vinegar good for?
Homemade apple cider vinegar has a long shelf life when stored correctly.
It can last for several months to a year and sometimes even longer. The key is to store it properly – cool, dark, and airtight. Over time, the flavour may intensify, but as long as there are no signs of spoilage, such as an off smell or mold, it is safe to use.
How did your homemade apple cider vinegar turn out? Which apple variety did you use?

Hello, I am from India. I have seen people using sugarcane vinegar extensively here, but have never seen them using apple cider vinegar. After reading this article, I am curious to try this (ACV ) use. Thank you for this information.
Hi Dharmendra! Wow! I’ve never seen sugarcane vinegar before – sounds wonderful. I hope you love making your own ACV! Let me know how it turns out for you 🙂